
The rose (Rosa spp.) is an ancient flower known for its velvety petals and menacing thorns. An inspiration to writers and a classic token of lovers’ affections, it is one of today’s most popular ornamental plants.
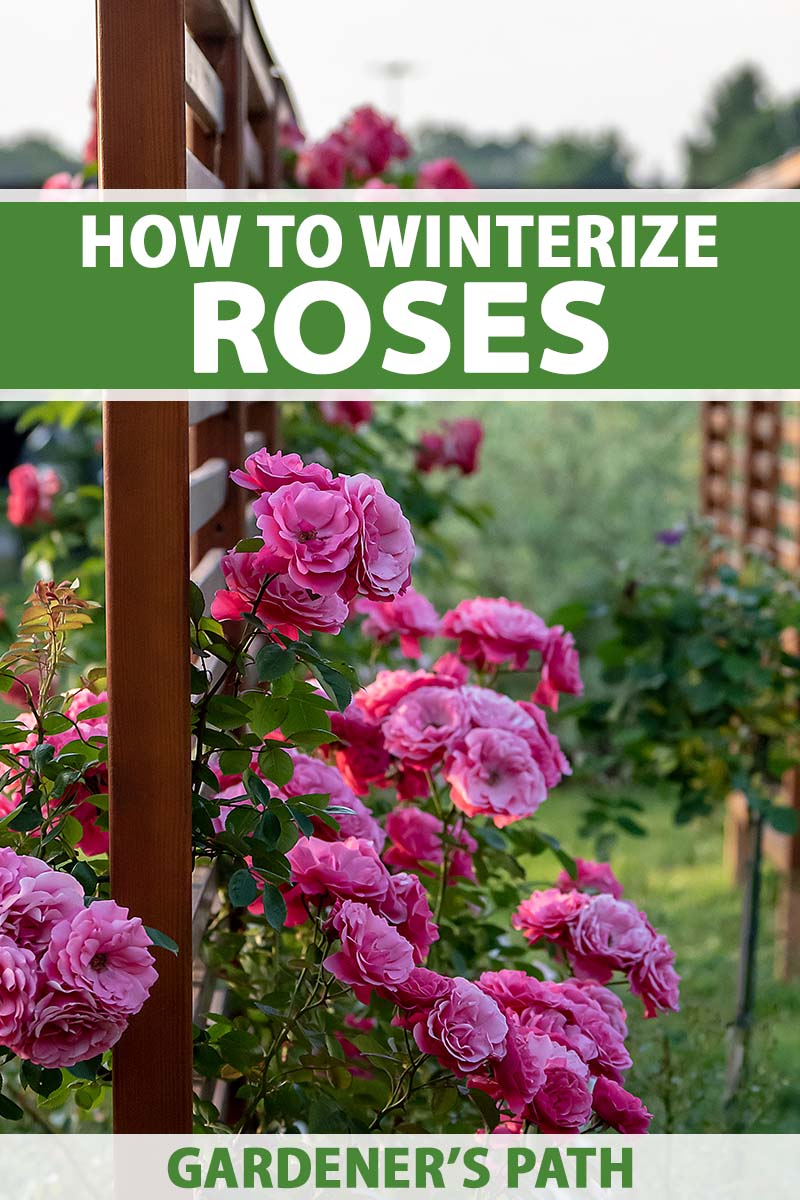
There are heirloom and modern varieties with growth habits that include miniature, climbing, rambling, shrub, and tree forms.
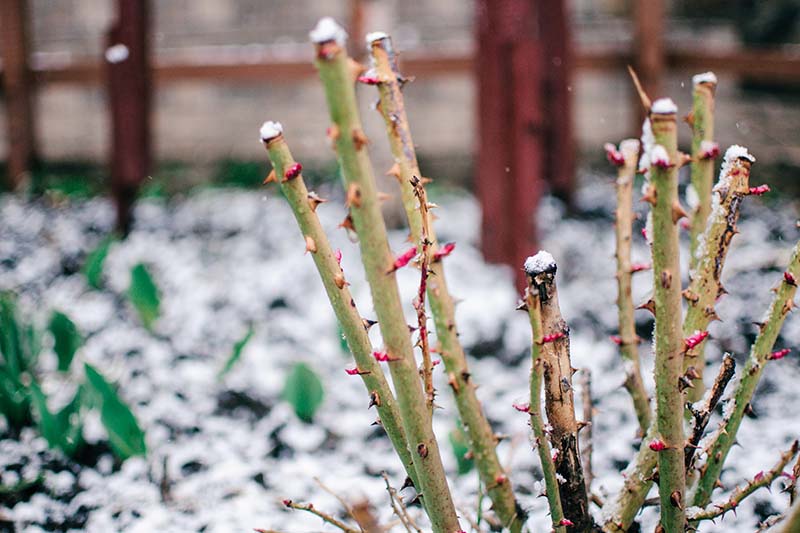
Most roses are cold-hardy to USDA Hardiness Zone 5. If you live in Zone 6 or below, where winter temperatures in the teens and 20s are common, protection is recommended.
This is a beneficial undertaking, because fluctuating temperatures typical of winter cause alternating cycles of freezing and thawing in the soil, which can damage plant tissue.
Ironically, the goal is to keep plants consistently cold – not warm.
In this article we share ways to insulate roses to minimize temperature variations that can damage plants.
Here’s the lineup:
What You’ll Learn
Let’s get started. Winter’s on its way!
The Fittest Survive
A rose’s ability to withstand the rigors of winter is based on decisions made and care provided from day one.

Do your homework and select varieties suited to the climate and average temperatures of your growing zone.
Plant in a location that is not likely to be buffeted by strong winds, such as one sheltered by shrubbery, a wall, or another type of structure.
There should be at least six hours of sun exposure per day, and soil that is slightly acidic, organically rich, and well-draining.
Provide water as needed, remove weeds, prune dead canes, and promptly attend to signs of pests or disease.
Putting Roses to Bed: Winterizing Methods
About six weeks before the first average frost date for your region, give your plants their last dose of fertilizer for the year.
The best choice is a product with no nitrogen (N), to avoid stimulating foliar growth. Late growth may slow dormancy and render plant tissue vulnerable to frost damage.
At the end of the season, as roses die and hips form, refrain from snipping them off. Allow your plants to ease into dormancy by avoiding these growth-stimulating actions.
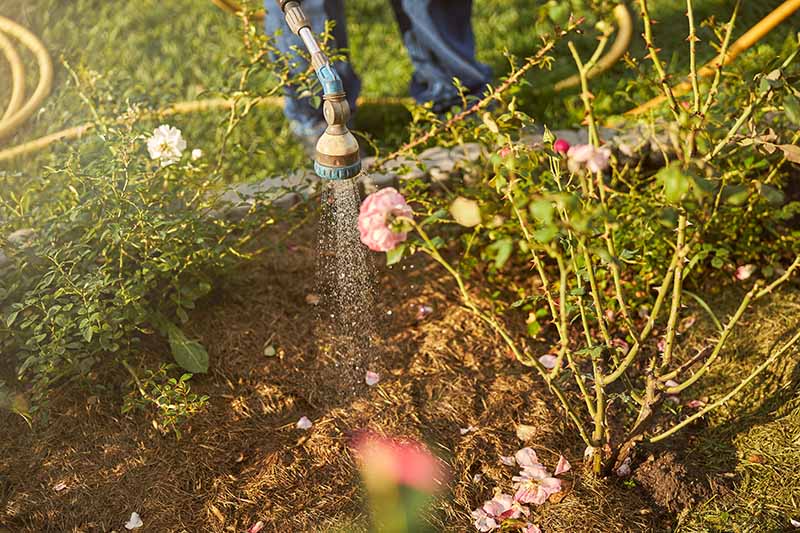
About four weeks prior to the first frost date for your region, water thoroughly one last time.
When the canes darken and the leaves change color and then drop, your plants are beginning their descent into dormancy.
After the first hard frost, it’s time to winterize.
There are a variety of ways to do this. You may combine methods to protect your plants as desired.
Mounding
Mounding, also called hilling, refers to piling soil around the roots to pad them with a layer of insulation.
If you have grafted bushes, like floribundas, grandifloras, and hybrid teas, you are covering the cold-vulnerable graft union, where the canes above meet the rootstock below.
The first step is to clear away fallen leaves and debris beneath your plants. This inhibits the wintering over of pests and disease pathogens.
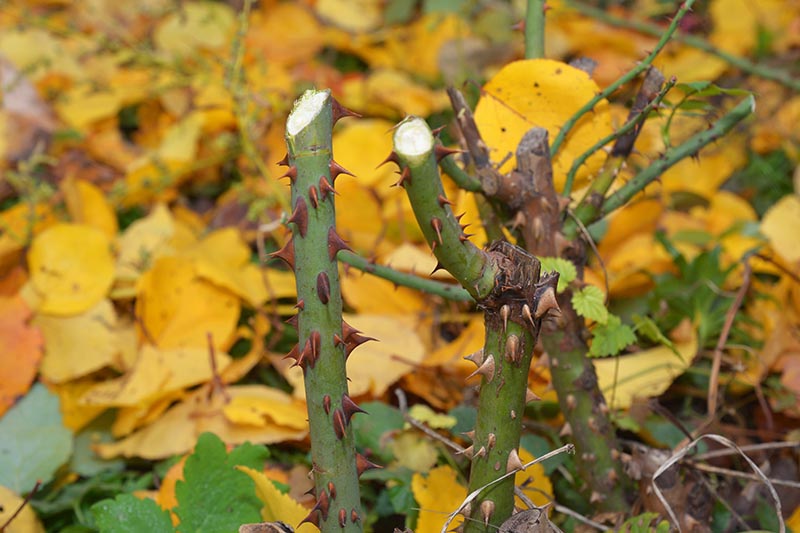
With grafted bushes, it’s best to keep heights to about 24 to 28 inches through the cold months to minimize wind damage and exposure to the cold. Cut canes on an outward-facing 45-degree angle, just above a leaf node.
Remove any remaining leaves, diseased foliage, and dead or crossed canes. If there are hips, you may leave them in place. Folk wisdom says they inhibit “winter kill,” the death of stem tips from cold damage.
Bring in fresh garden soil or compost, and mound it to a height of eight to 10 inches around the base of each plant. Pat it down firmly.
Do not pull earth from around the plants to mound up. You may disturb the roots and/or create a depression around the plant that could hold water.
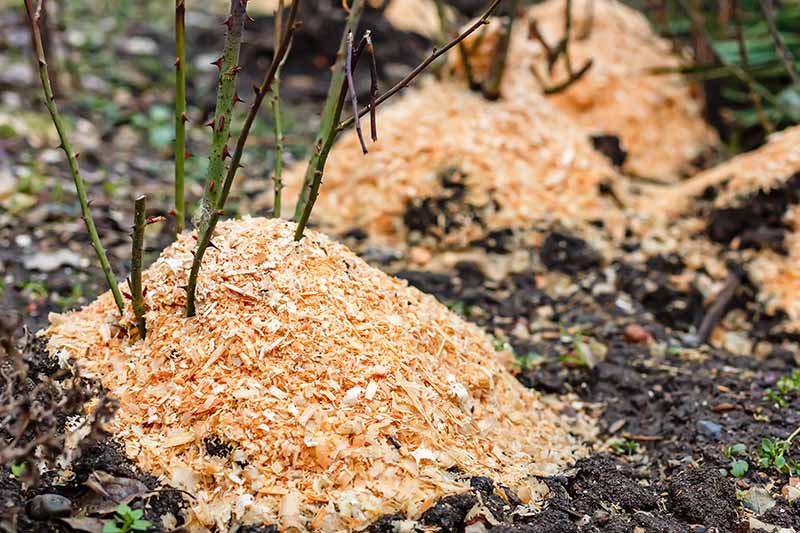
After the first hard frost, add a two- to three-inch layer of mulch over the mounded soil. By waiting until the ground is hard, you avoid attracting nesting mice.
A generous layer of mulch adds protection and promotes drainage. Good choices are organically-rich bark chips, leaves, pine needles, straw, and wood shavings.
In regions with little to no snow, a final layer of small fir boughs, cornstalks, or the like will help to keep the mulch in place.
Coning
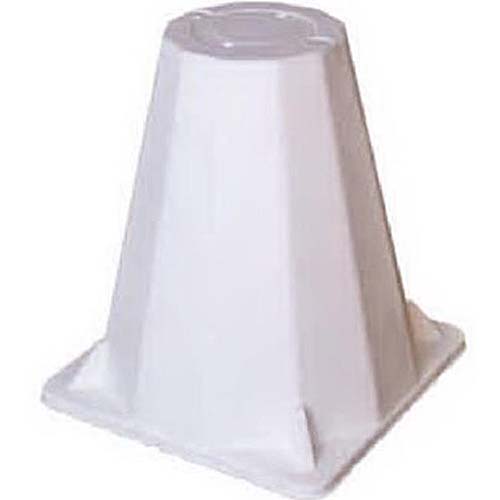
For small bushes with firm canes that are in little danger of wind damage, you may cover the entire plant with a cover called a rose cone.
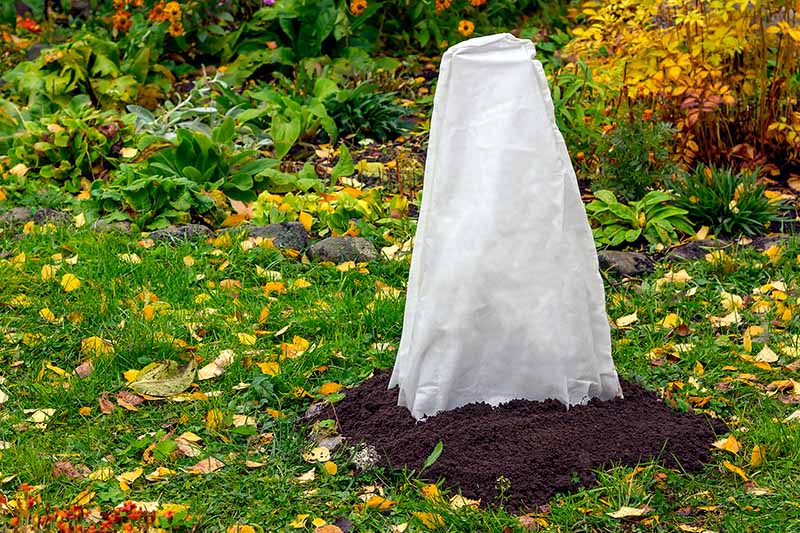
This may be a shelter made of permeable fabric that lets air and water in while inhibiting wind damage and reducing temperature fluctuations, or it may be a breathable hard foam product that is placed over a plant to protect it from cold, precipitation, and wind.
Some have premade holes through which stakes are placed to secure them to the ground. Those without holes for staking may be weighed down with a brick or rock.
Find foam rose cones now from Walmart. This product from Consolidated Foam measures 12 x 12 x 14 inches, and each package contains 24 cones. Weighting is required.
You may also make your own covers. They should be ventilated and opaque, to avoid creating a greenhouse effect that stimulates growth.
Binding
If you have tall bushes that you don’t want to cut or tuck under a cone, you may use a technique called binding. You may do this before or after mounding the soil.
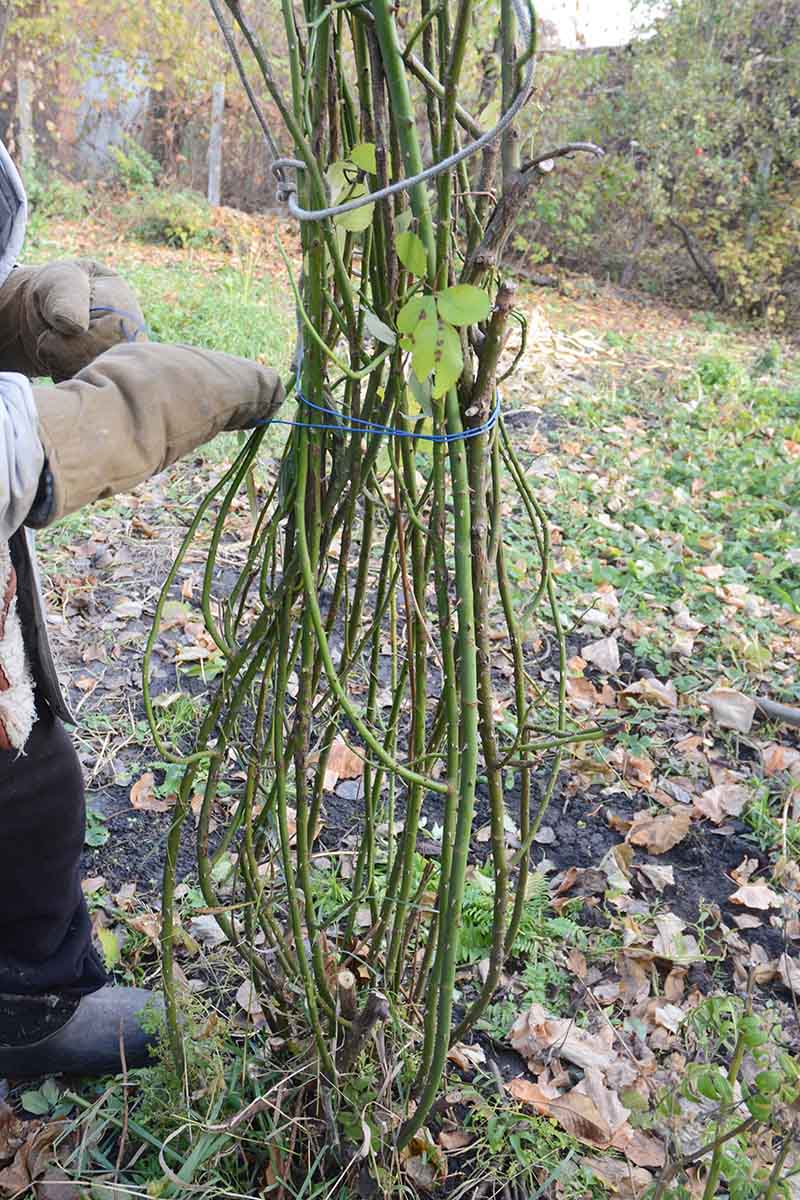
Tie the canes together like a bouquet for greater stability during strong winds. Use twine, lengths of fabric, or heavy gauge wire to avoid injuring the canes.
Binding is also an excellent way to protect climbing and rambling varieties, especially when combined with mounded soil and mulch.
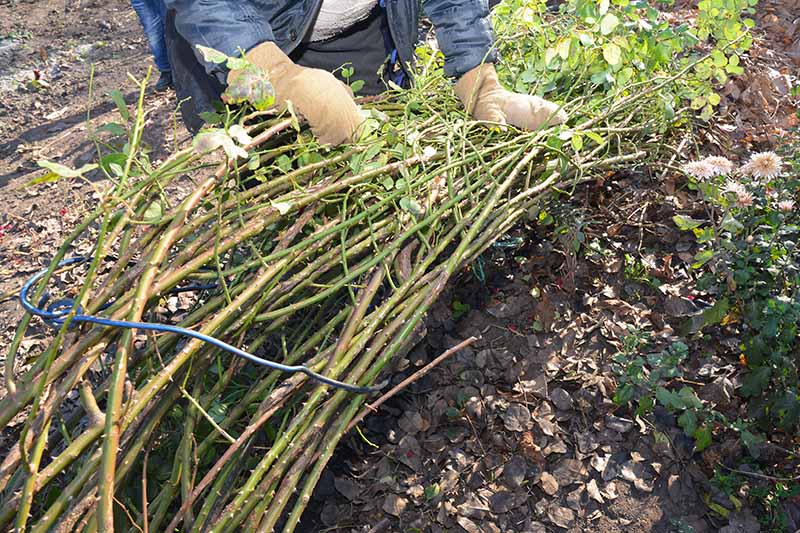
You’ll have to prepare the ground while it is still soft enough to dig. Here’s what you need to do:
- Remove the plant from its support structure, lay the canes on the ground, and bind the canes loosely with twine.
- Lay the bound canes on the ground to determine their length and the height of the bound bundle.
- Dig a trench below the canes that can accommodate their length, width, and height.
- Cover the canes with soil or compost, mounded about six inches above ground level.
- After the first hard frost, place a two- to three-inch layer of mulch over the soil.
An alternate method is to lay the canes on top of the soil and cover them with more soil, followed by a layer of mulch.
Collaring
Collaring is the process of installing a piece of weather-resistant material around your plants that will act as a retaining wall that holds insulating materials in place, minimizing temperature fluctuations, and inhibiting wind damage.
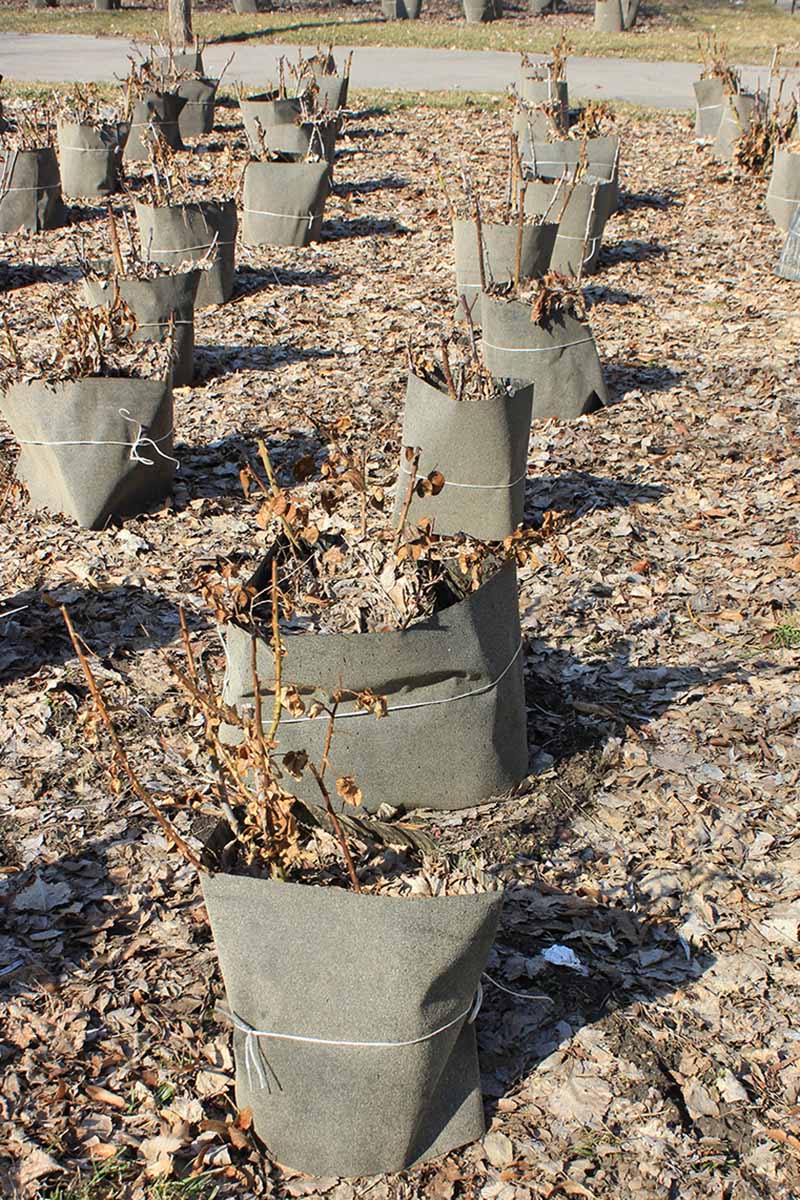
There are numerous choices available, ranging from plastic to wire. If you’re imaginative and have the appropriate materials on hand, you can also make your own.
After mounding your soil and fitting your collar, you can fill it to the top with leaves for added protection.
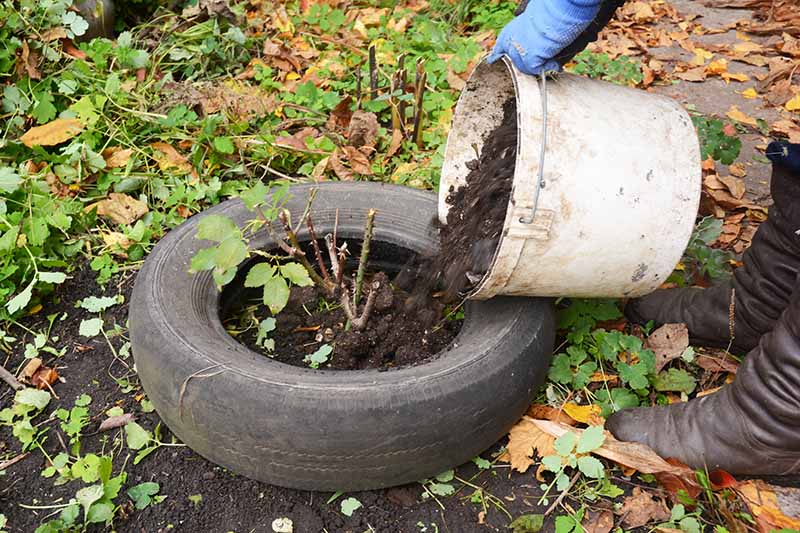
The top remains open when you install a collar, so you can use this method on plants of varying heights.
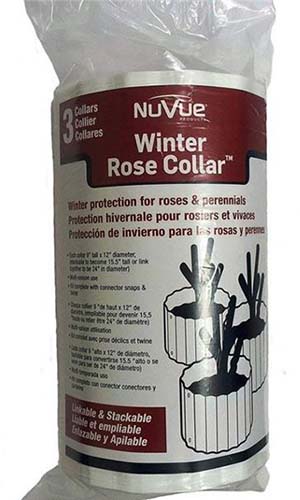
You can find rose collars now from Walmart.
Each package contains three collars measuring 9 x 12 inches. Use individually or stack as desired.
Wrapping
Binding and burying long canes are proactive ways to minimize the effects of winter, but what if you can’t remove your plants from their support structures?
Cones and collaring are practical solutions for small bushes, but what about large shrubs?
The answer is wrapping.
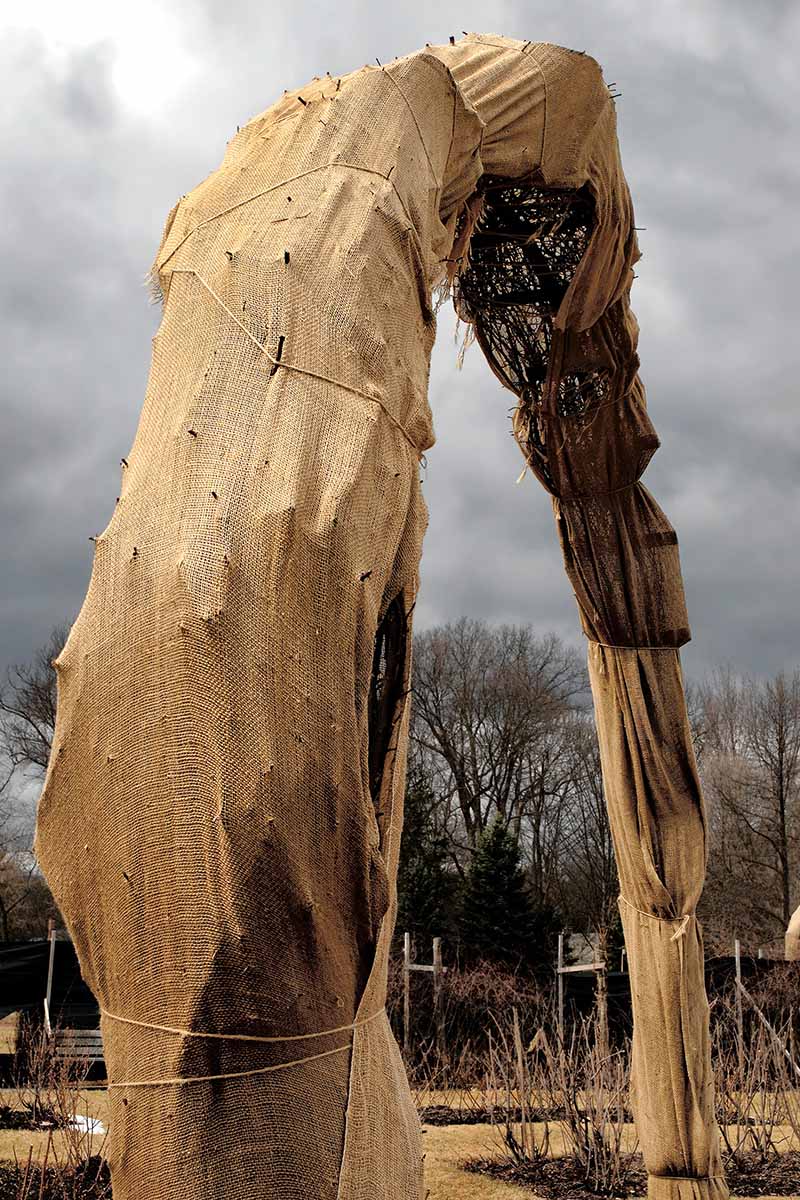
With burlap and twine or stakes, you can protect even the longest, largest, most unwieldy plants.
Burlap is a lightweight woven fabric that breathes and is easy to work with. The trick is to wrap plants after the first frost, to make sure mice don’t make a home inside the wrappings.
Wrap and tie burlap around climbers and ramblers, covering the canes without disturbing them.
For shrubs, we use the burlap as an extra-large collar that can provide a windbreak for shrubs too big for other winter care techniques.
Place stakes out about eight to ten inches from a shrub’s perimeter, and wrap burlap around the stakes.
The heights of the stakes depend upon the height of your shrubs. The taller the stakes you use, the higher you can wrap the burlap.
Use twine to secure the burlap. With its loose weave, you can often push the twine through the burlap like sewing thread.
In addition to wrapping climbers, ramblers, and shrubs, you may have standards, or tree roses to protect.
These plants are grafted, like the bushes we discussed at the outset; however, the graft is exposed, located on the trunk rather than beneath the soil.
To protect it:
- Wrap the trunk in several layers of burlap and tie it with twine.
- Mound the soil around the base.
- Collar the plant.
- Fill the collar with mulch or leaves.
You may cut any bulky growth from the top of the dormant tree branches at this time. Use the 45-degree, downward, and outfacing cutting style as we did above.
Or, you may cover a bulky tree top in burlap, tying it around the trunk to secure it.
There’s also another method suitable for tree varieties, which is called tipping.
Tipping
Tipping, aka the Minnesota Tip, is a technique favored in the coldest regions. Used for modern roses like hybrid tea, floribunda, grandiflora, and tree types, it shields the vulnerable graft union.
For this method, plants are partially uprooted and laid down in a trench prepared before the ground freezes.
After the first hard freeze, the soil is mounded, the plant is collared, and the collar is filled with mulch, for a total depth of 12 inches of insulation over the graft union.
Detailed tipping instructions are beyond the scope of this article. Please consult a qualified nursery person before attempting to use this method.
Container Plant Options
If you cultivate roses in containers, such as miniature and tree types, wait for the first hard freeze before taking action.
Once the leaves drop, signaling dormancy, move the potted plants to a shed where the temperature will remain cold and the lighting dim, for the duration.
Water a few times during the winter to keep the pot from completely drying out.

Alternatively, you can bury potted varieties in the ground. However, the containers must be sturdy enough to withstand freezing, thawing, and extreme cold.
Bury the pots while the ground is still soft, placing their rims even with the ground.
Cover them with an eight to 10-inch mound of soil or compost.
After the first freeze, add a two- to three-inch layer of mulch.
You may also collar the plants in their containers above ground, and cover the mound of soil with leaves layered to the top of the collar.
Spring Awakening
Insulating roses maximizes their ability to withstand freezing and thawing cycles and cold, drying winds that might otherwise damage plant tissue during dormancy.

Keep everything in place until early spring. After the danger of frost has passed, remove all winter protection.
Bring container plants out into the sunshine. Re-tie climbers and ramblers to their trellises, and replant uprooted trees and bushes per nursery instructions.
Incorporate the used soil, compost, and mulching materials into the garden, or add them to the compost heap. Add a two- to -three-inch layer of fresh organic mulch, and begin your best practices for cultivation once again.
When the first blossoms scent the spring air with their heady perfume, you won’t regret having pampered these icons of beauty and romance.
Are you growing roses? How do you care for them in the winter months? Share your tips in the comments section below!
For further information about rose care, you’ll want to read these guides next:
© Ask the Experts, LLC. ALL RIGHTS RESERVED. See our TOS for more details. Product Photos via Consolidated Foam and NuVue. Uncredited photos: Shutterstock.
The post How to Winterize Roses appeared first on Gardener's Path.
Source: gardenerspath.com


Комментариев нет:
Отправить комментарий