What is the Home app on iOS, watchOS, and macOS, and what can I do with it? Here’s everything you need to check out in the Home app!
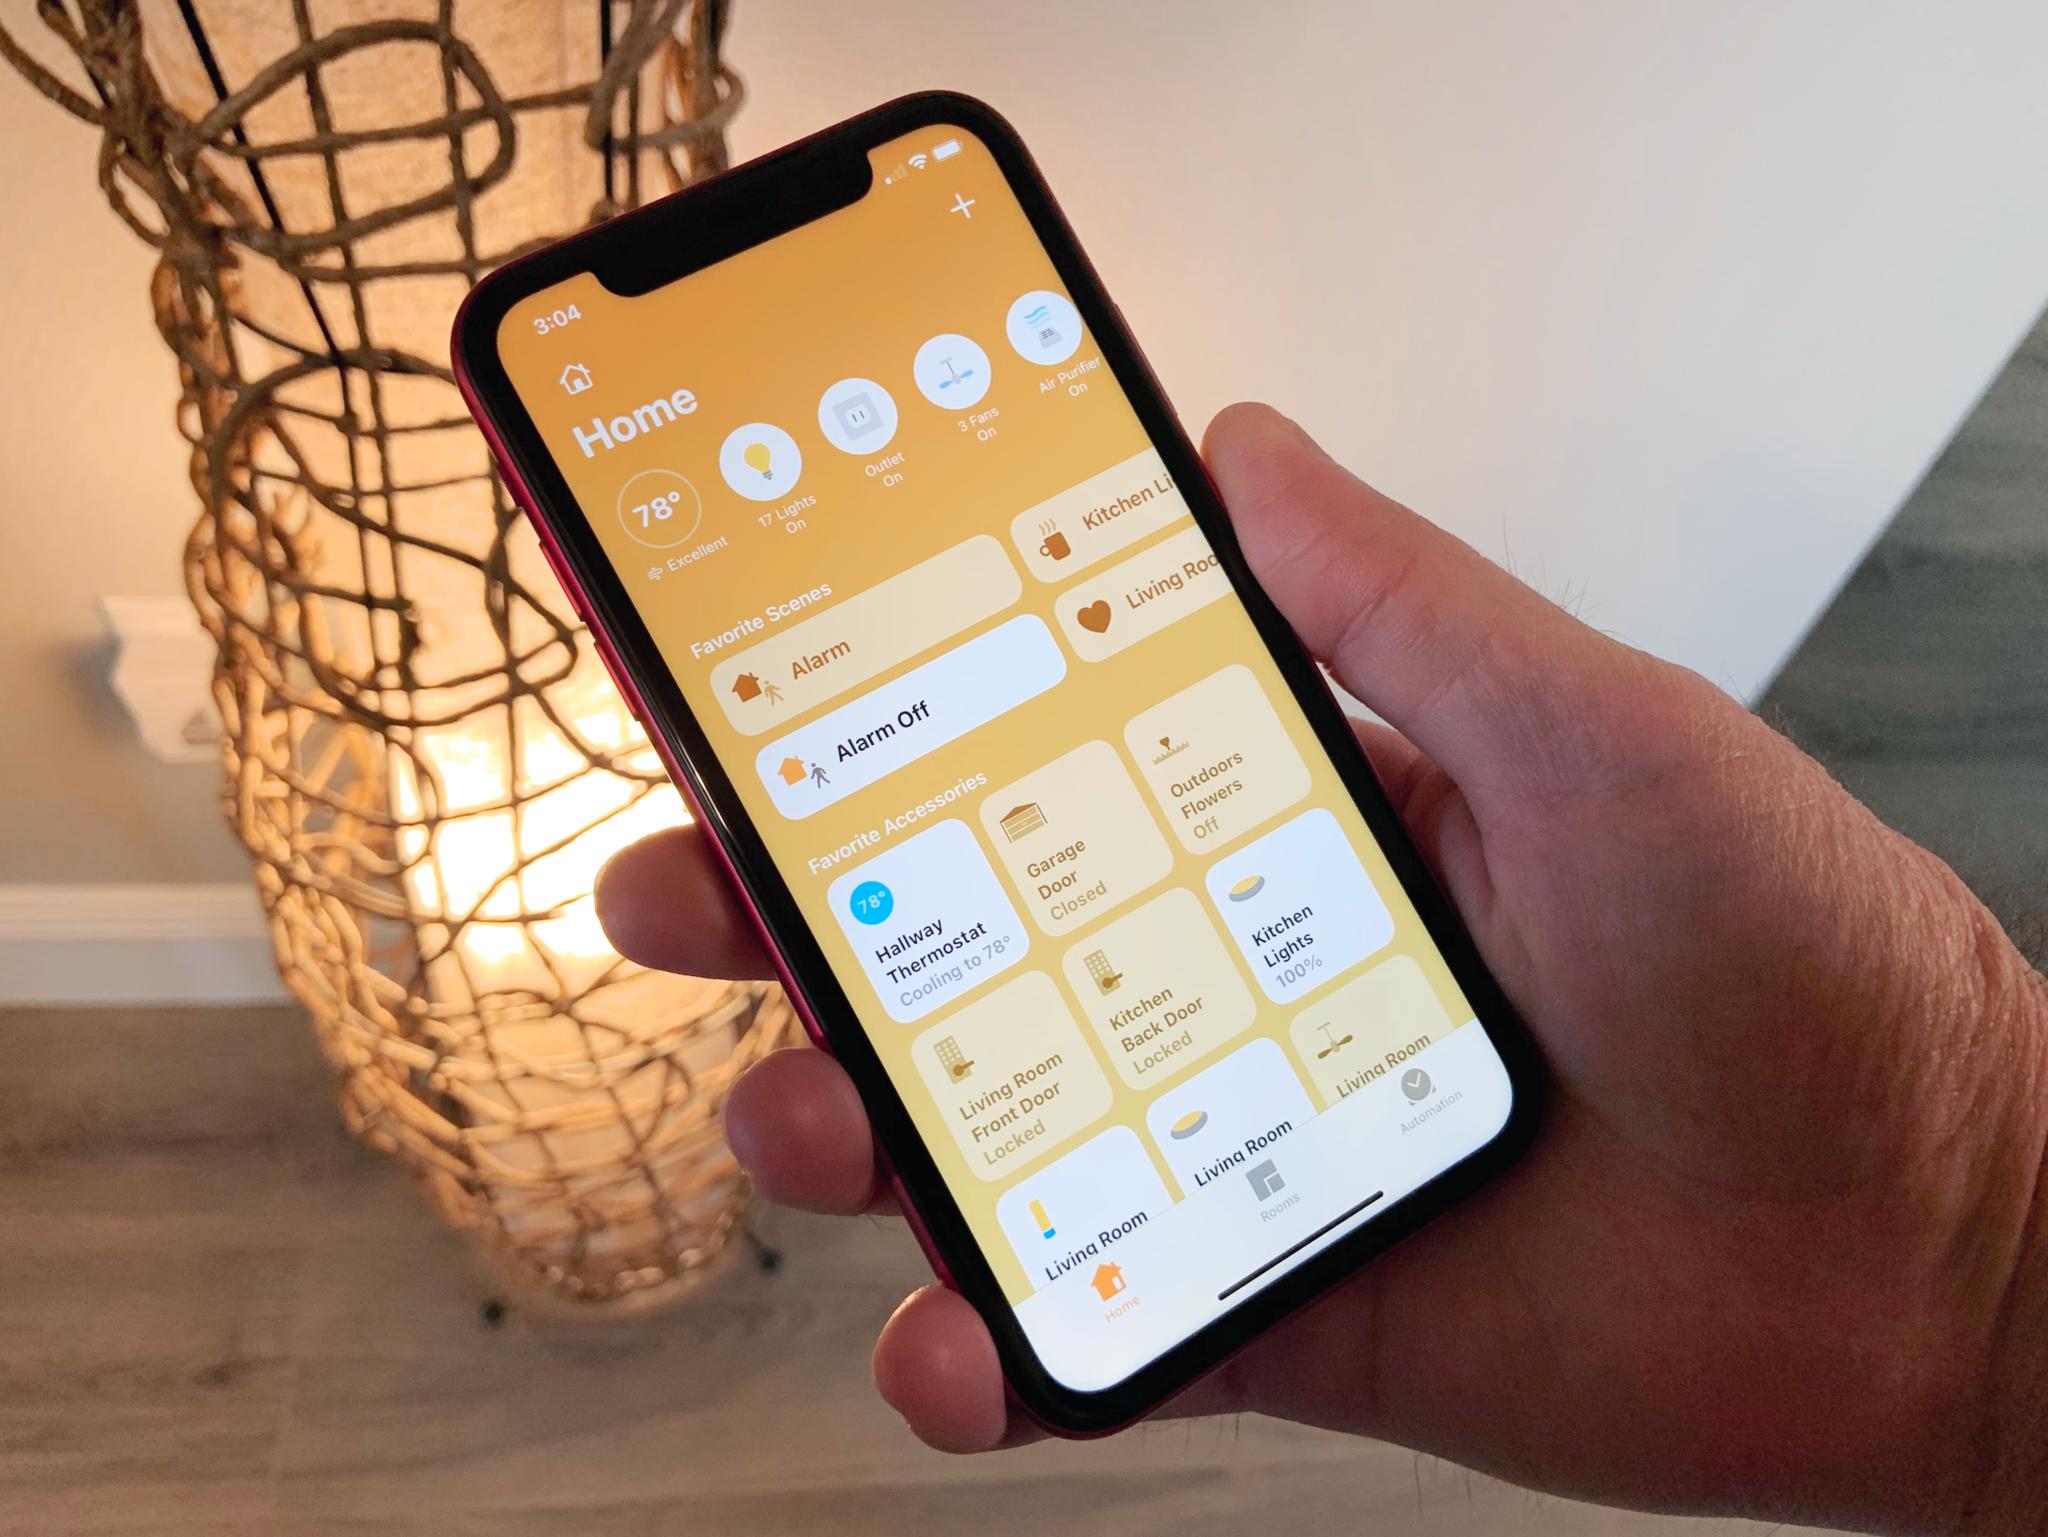
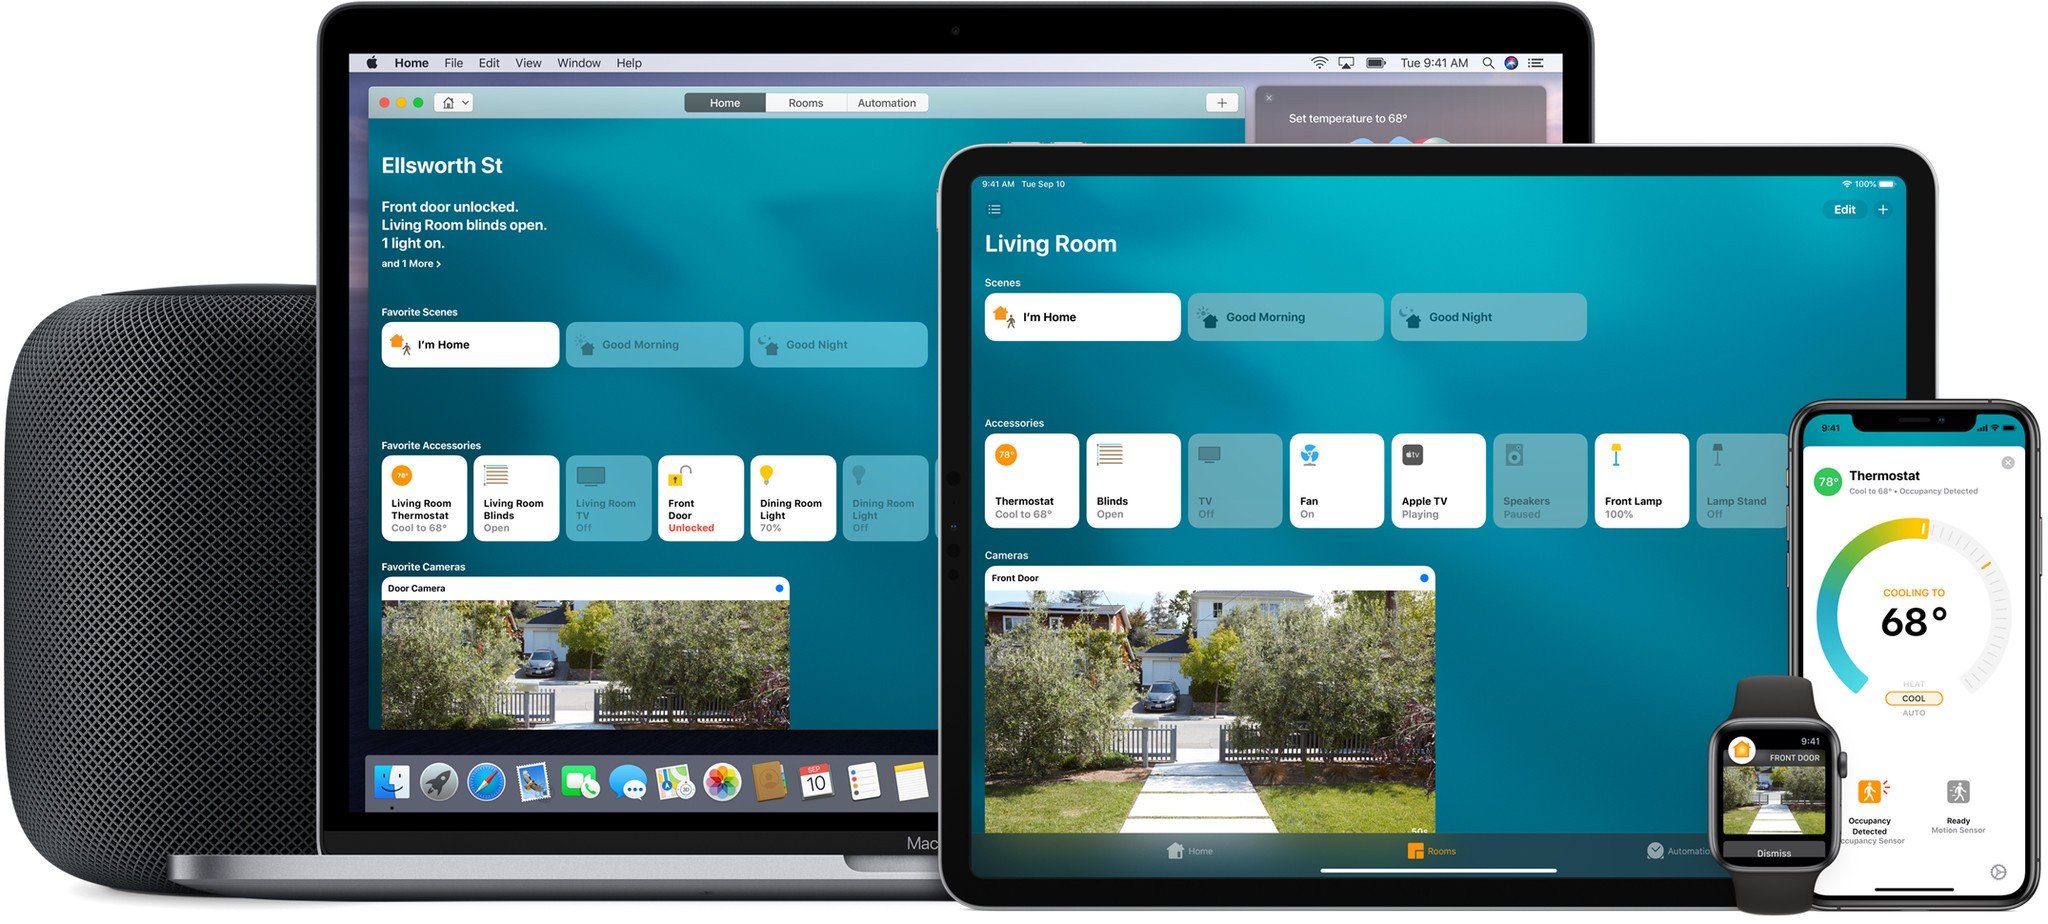
The Home app is a centralized control app for all of your HomeKit-enabled smart home accessories, from light bulbs to the smart lock on your door. From this app, you can control individual accessories, scenes with multiple devices, create automations, and access the advanced settings.
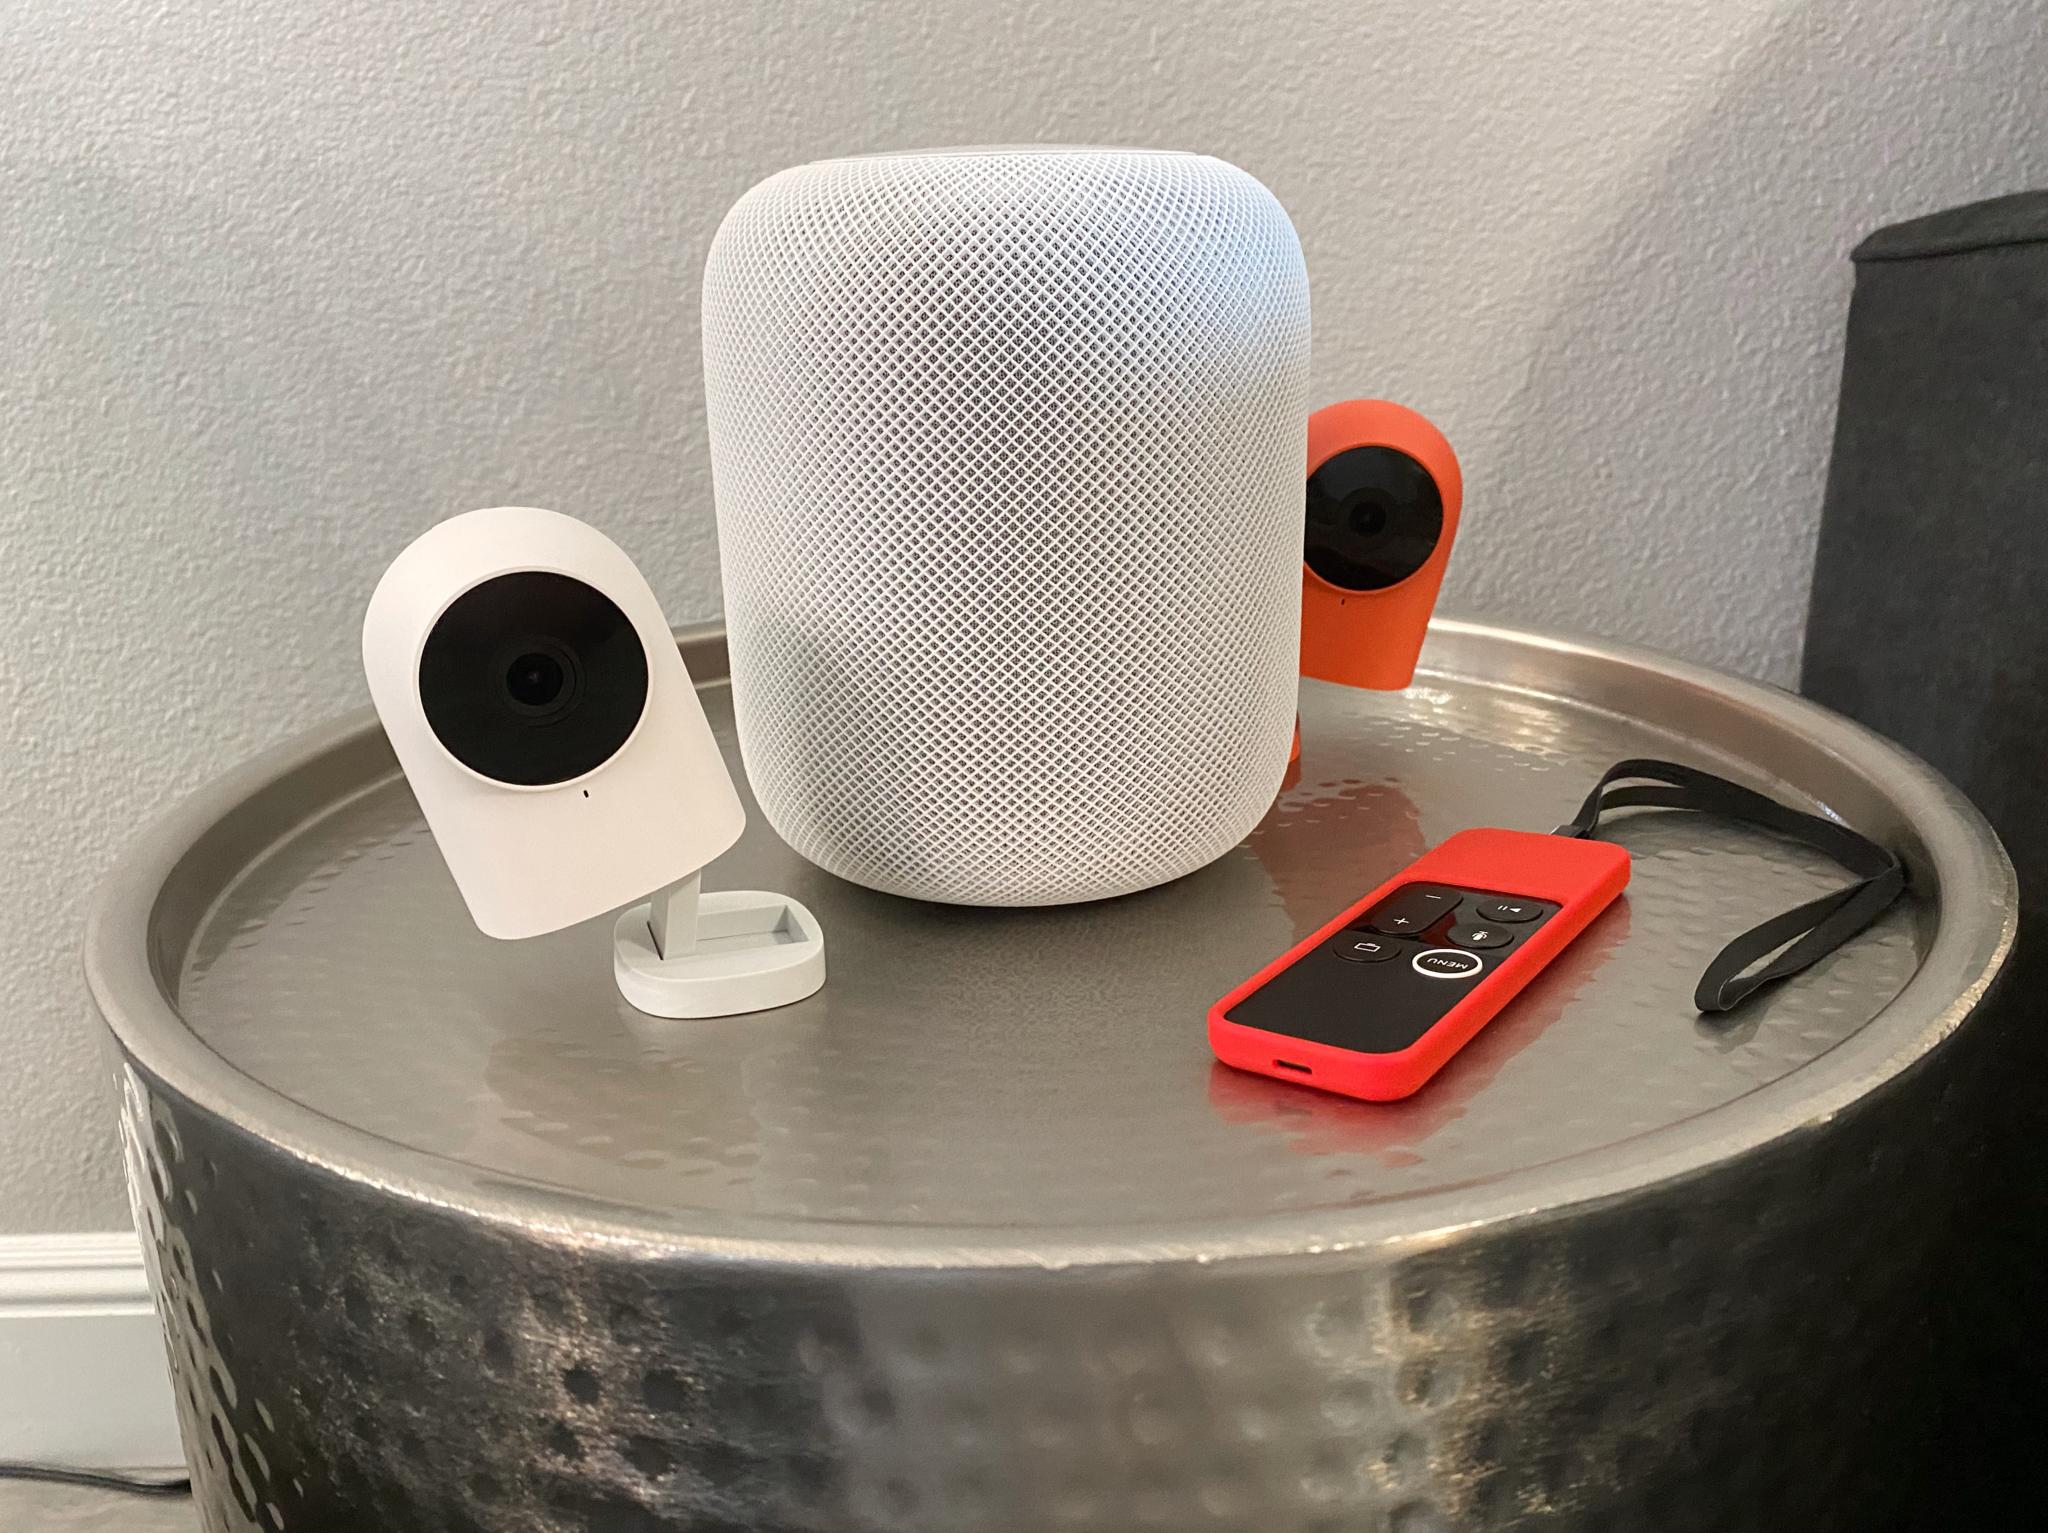
The Home app is also a way to organize your HomeKit home by placing accessories into rooms. It gives you the ability to name each device so that you can refer to them the way you want when sending voice commands via Siri. Plus, if you have a HomePod or two, you’ll even use the Home app to download and install software updates for Apple’s wireless smart speaker.
Controls
Controlling your accessories in the Home app is as simple as a tap. HomeKit accessories, such as HomeKit smart plugs, can be toggled on and off at will just by tapping on its icon within the Home app. Additionally, pressing and holding allows you to access more granular controls.
Press and hold (Haptic Touch) your accessories and scenes within the Home app and from Control Center to make quick adjustments to things like temperature, color, brightness, etc., depending on the accessory. This control screen also gives you access to the accessory settings, including options like setting it as a favorite or adjusting notifications.
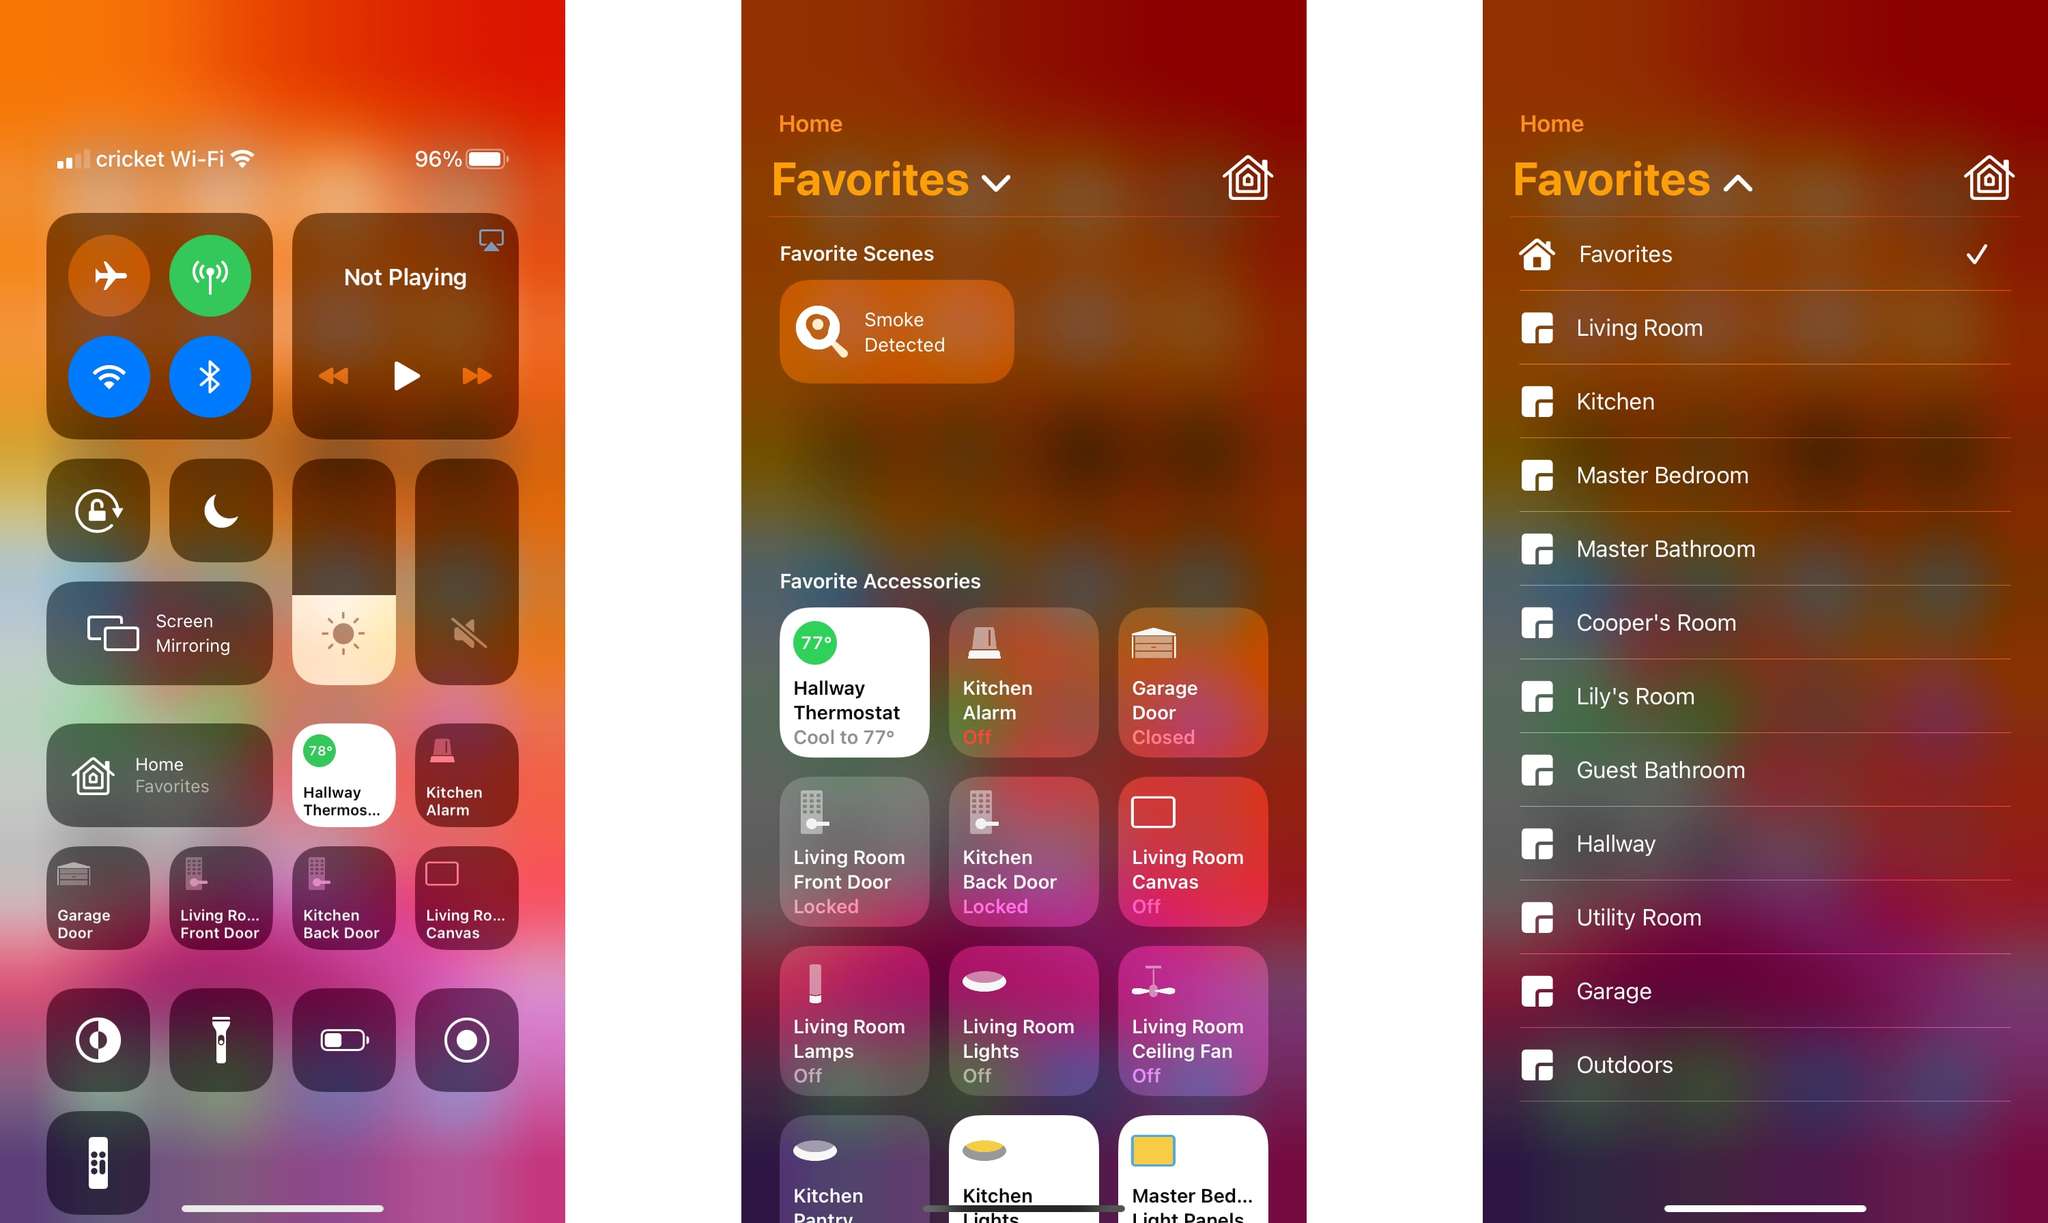
Home app controls are also available in Control Center on iOS and iPadOS. Accessories and scenes that you have deemed as favorites will appear along with other controls, giving you a quick way to access them from just about anywhere. Control Center also includes a complete home overview, offering an alternative way to hunt down an accessory even if you didn’t set them as a favorite.
Scenes
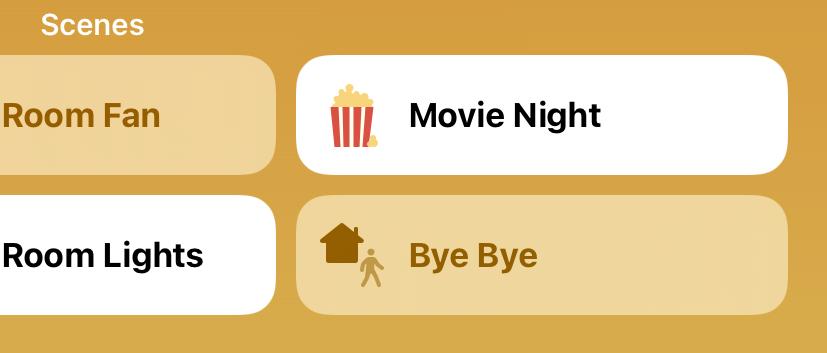
HomeKit Scenes are a way to combine multiple controls for all of your accessories into one action. By creating a scene, you can put together a way to turn off or dim your HomeKit light bulbs, close your blinds, and fire up your HomeKit TV all with a single tap or shout to Siri.
The beauty of scenes (and HomeKit in general) is that they can be created regardless of whether your HomeKit door lock is from a manufacturer different from your HomeKit smart plug. All of the actions are performed in the background, saving you from tapping and swiping around to find each individual accessory, and they can even be included in automations (more on that below).
How to create scenes in the Home app
Favorites
When you launch the Home app, you’re presented with a page of curated Scenes and accessories called Home. These are your Favorite Scenes and Favorite Accessories.
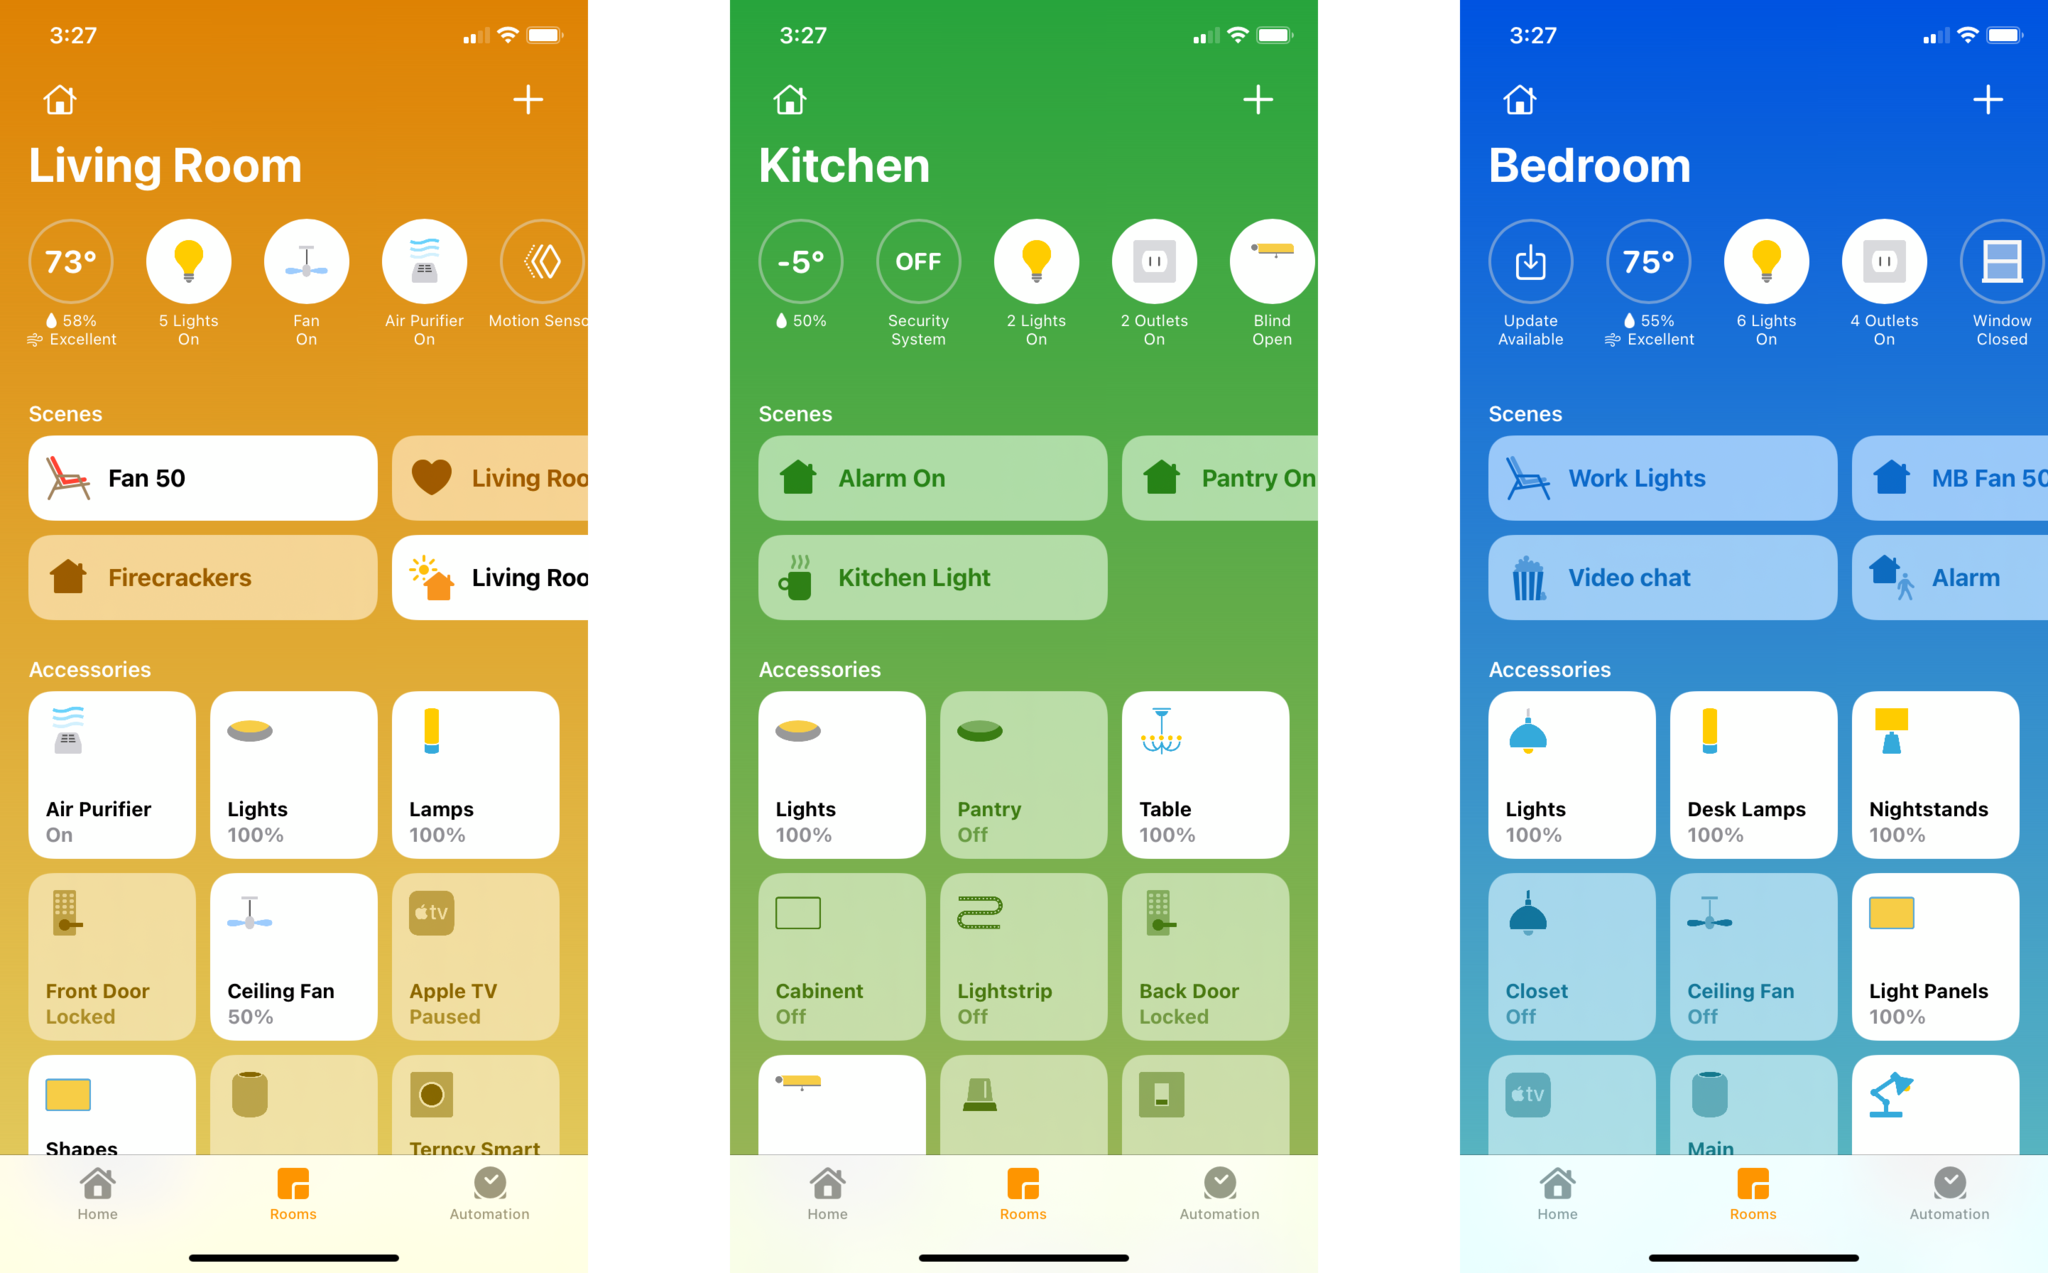
In contrast, the Rooms page shows you all of your HomeKit-enabled accessories, not just your Favorites.
How to set your favorite Scenes and Accessories
Rooms
Rooms are bound to be familiar to anyone who’s used HomeKit-enabled accessories in the past. Rooms contain your various HomeKit-enabled accessories — you’re encouraged to organize your accessories according to which room they’re physically in.
This living room, for example, has Philips Hue lights and an ecobee SmartThermostat. The Home app will also display the Scenes that include the Accessories in your specific room.
How to rename rooms in the Home app
Status and Notifications
When you launch the Home app and find yourself on the Home page, you’ll see your home’s name in big and bold lettering near the top of the screen. The icons showing directly below your home’s name (and within a room) act as a status overview for your home, displaying metrics from sensors like HomeKit temperature sensors, or HomeKit air quality sensors, and how many HomeKit light switches are on.
You will also see critical status messages like low battery warnings and accessory update availability in this area. This portion of the app is customizable for certain HomeKit-enabled accessories allowing you to filter out status for smart plugs that are always left on, or if you want to exclude a temperature sensor in a room that you don’t want to monitor all the time.
How to adjust notifications and status for your HomeKit accessories
Additional users
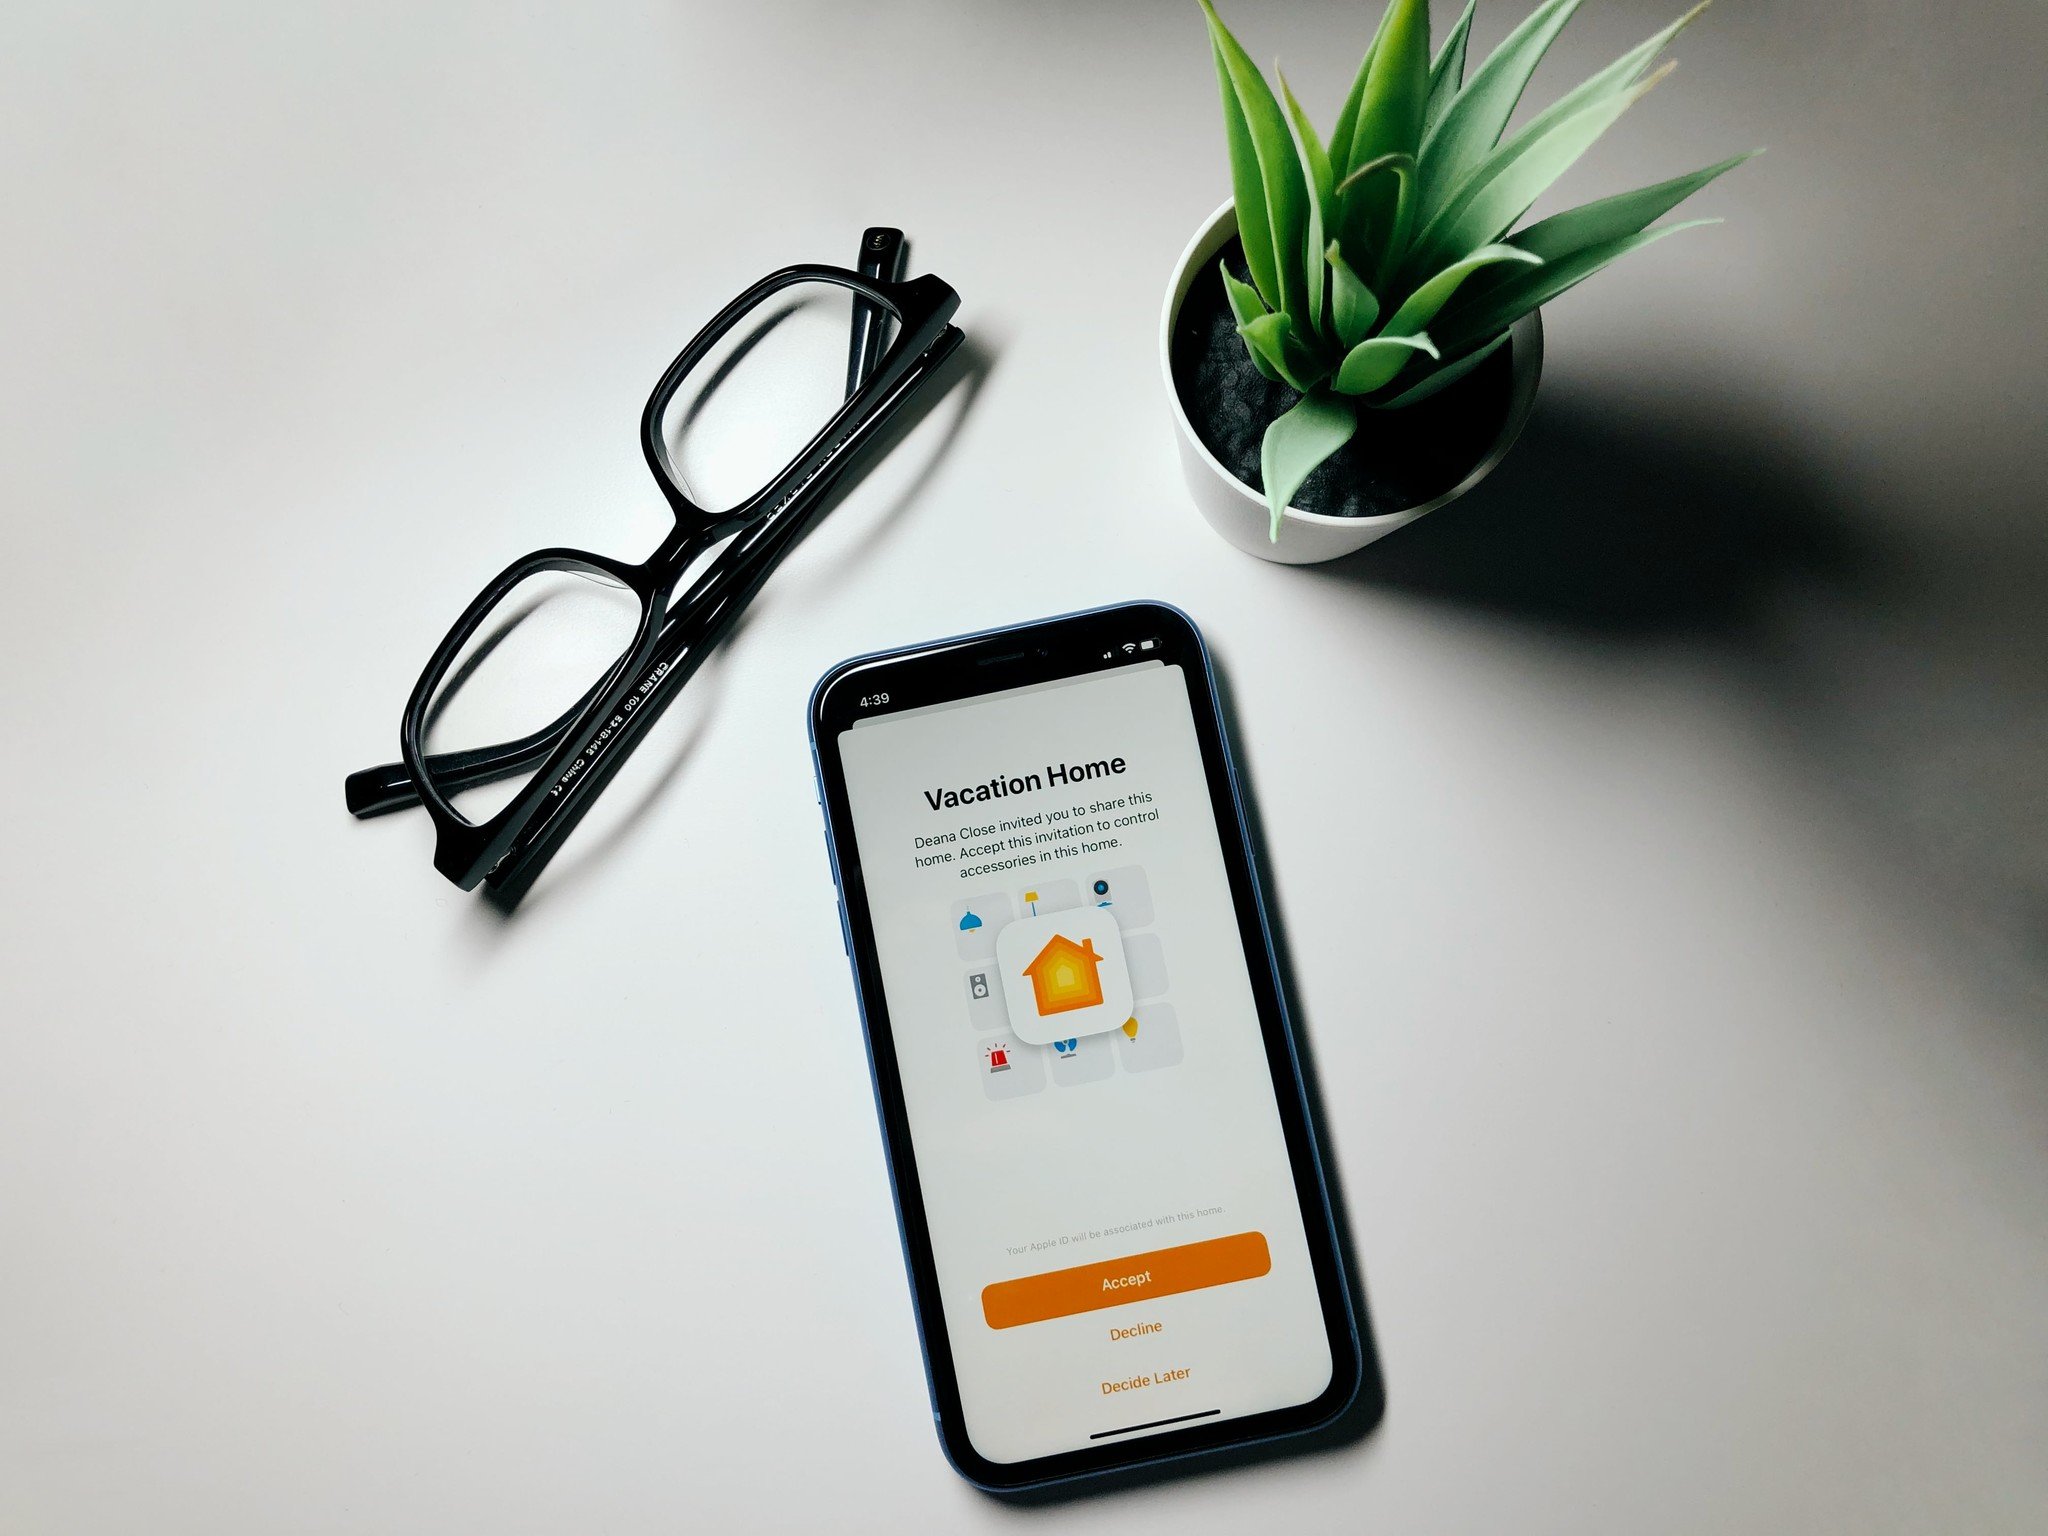
If you share a home with others, you can grant them access to your HomeKit accessories. Invites can be sent through the Home settings area, and once your invite is accepted, they’re able to view and control your accessories through the Home app on their devices.
Limitations can be set for additional users, such as restricting access to adding or deleting accessories, as well as disabling their ability to see your home while they are disconnected to your home Wi-Fi network. Finally, additional settings are available to limit access to HomeKit Secure Video camera settings, such as viewing recordings or your live feeds.
How to add users to your HomeKit home
HomeKit Secure Video
HomeKit Secure Video, introduced in iOS 13, brings camera feeds, controls, Activity Zones, Face Recognition, and recordings into the Home app. Users with HomeKit Secure Video-enabled cameras, and a paid iCloud storage account have access to a rolling 10-day period of recordings for free.
Every security camera with HomeKit Secure Video support
Once you set up a HomeKit Secure Video-enabled camera, a timeline of events will appear directly on your camera’s feed, where you can review, save, and share recordings. Motion events are also analyzed instantly, providing you with timely notifications, and you can filter out cars and animals if desired.
How to manage HomeKit Secure Video cameras in the Home app
Advanced HomeKit Secure Video-enabled features include Face Recognition and Activity Zones. Face Recognition leverages your existing Photo Library to determine the person who is within your camera’s view. This allows the Home app to send smarter notifications for motion that include a person’s name if it matches your library, and you can even turn off notifications for certain people.
How to use Face Recognition with HomeKit Secure Video cameras
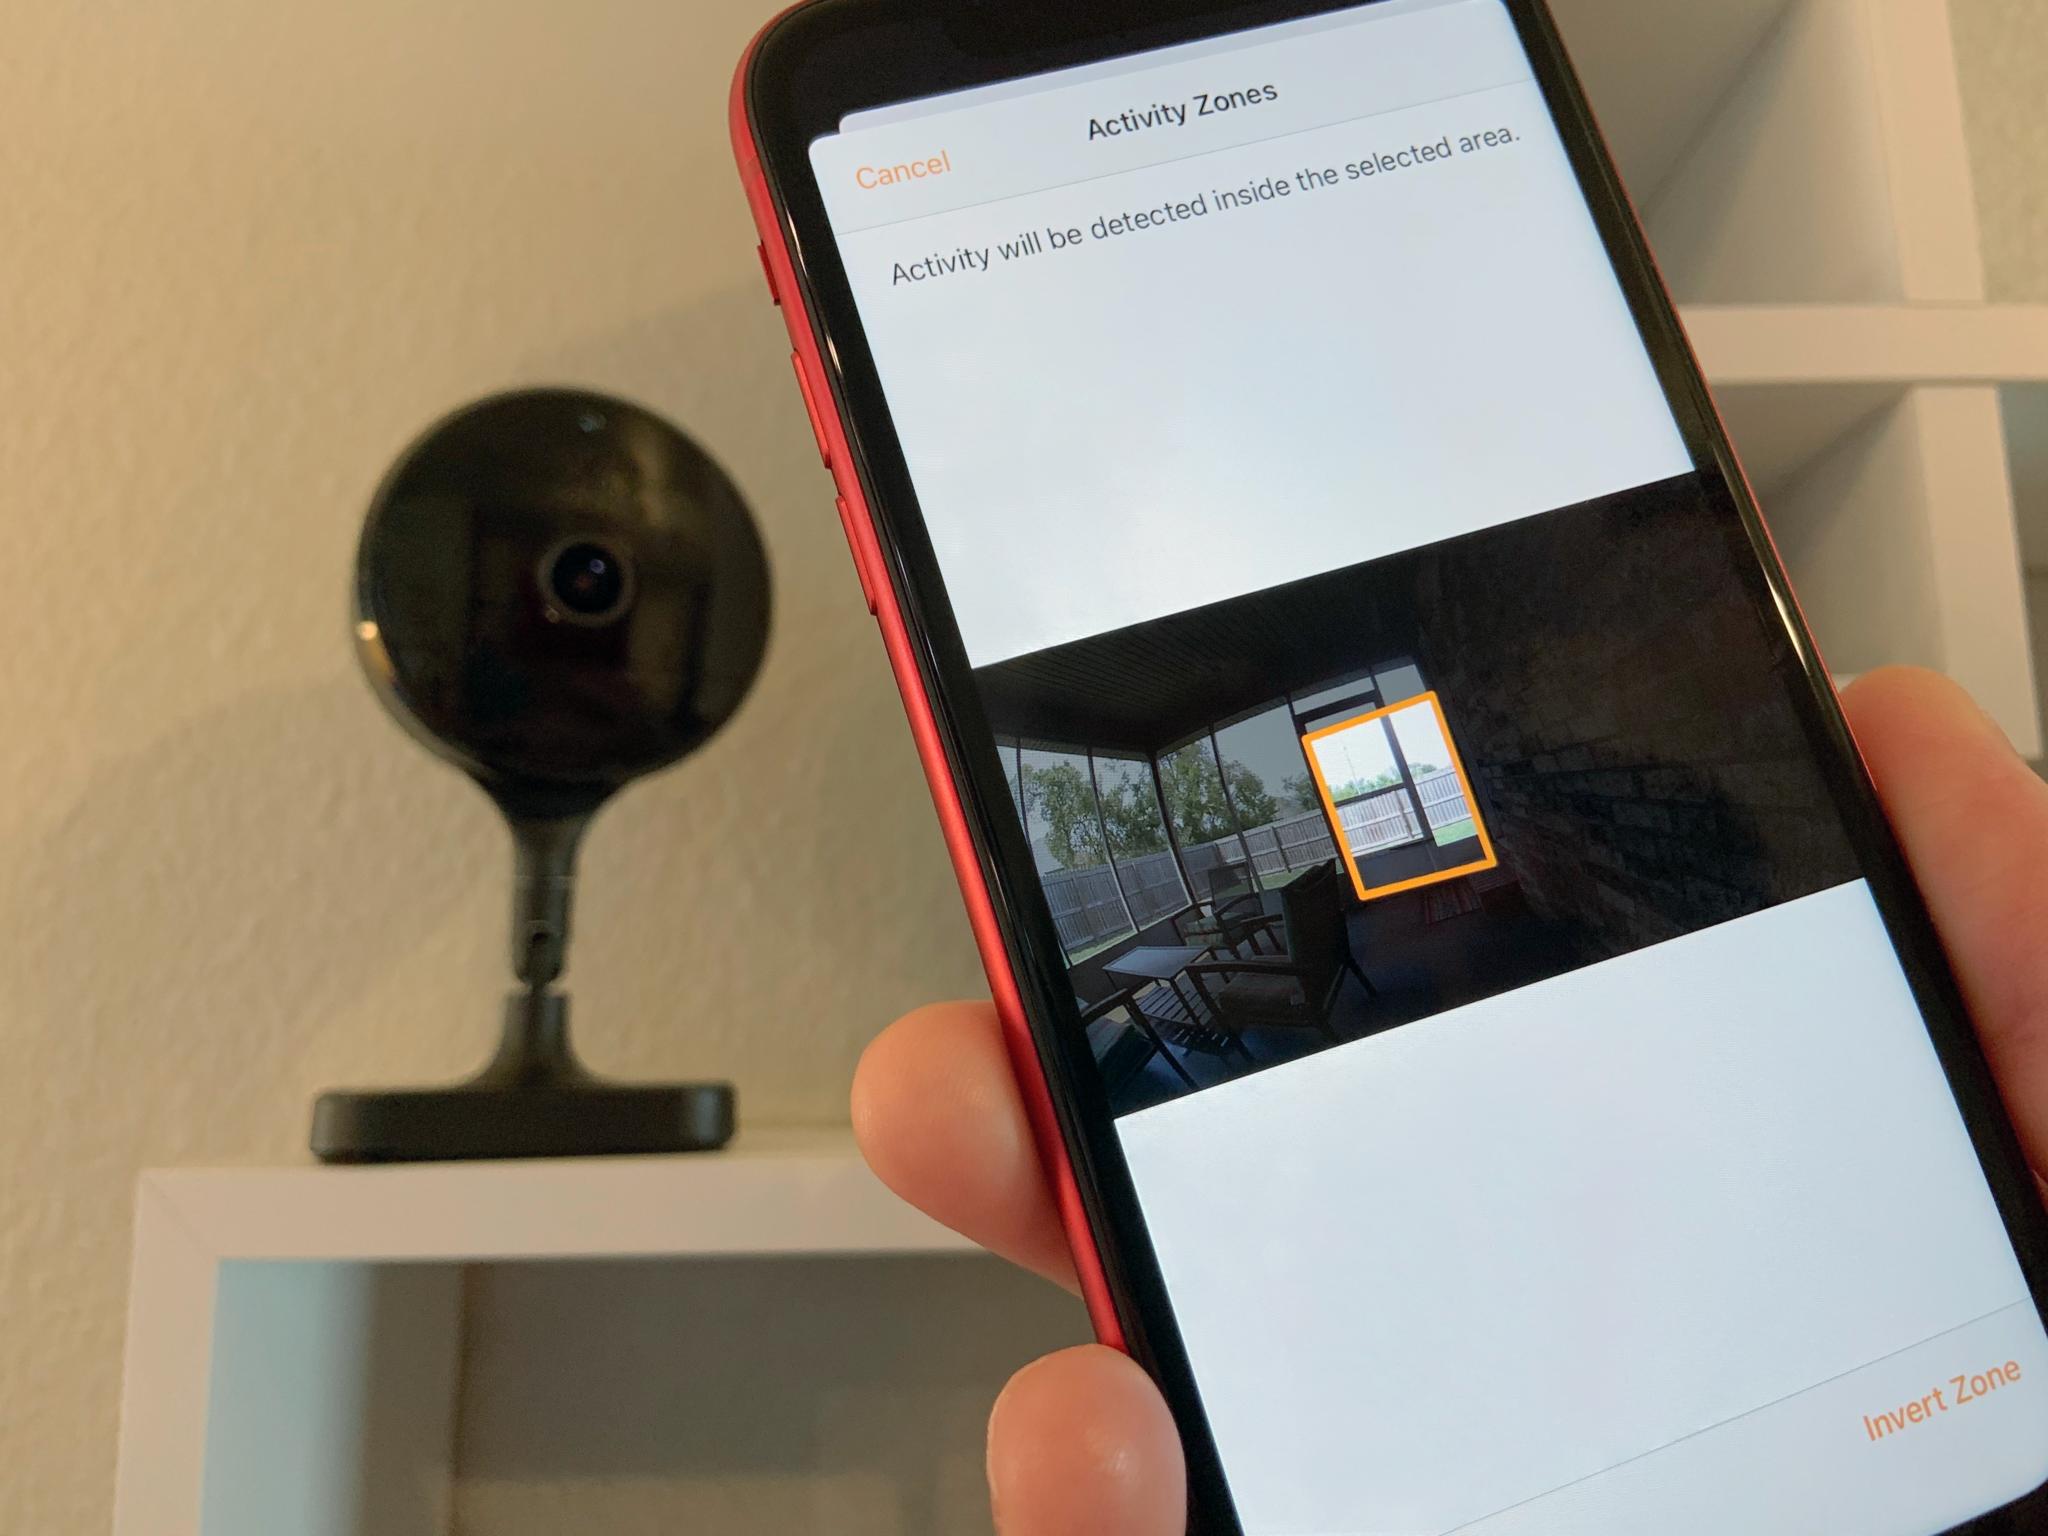
Activity Zones are virtual boundaries that you create for your HomeKit Secure Video camera to reduce nuisance notifications and recordings. With just a few taps, you can draw an area on your camera’s view that will allow it to ignore activity in areas like a sidewalk in front of your home.
How to create Homekit Activity Zones with HomeKit Secure Video cameras
HomeKit Secure Routers
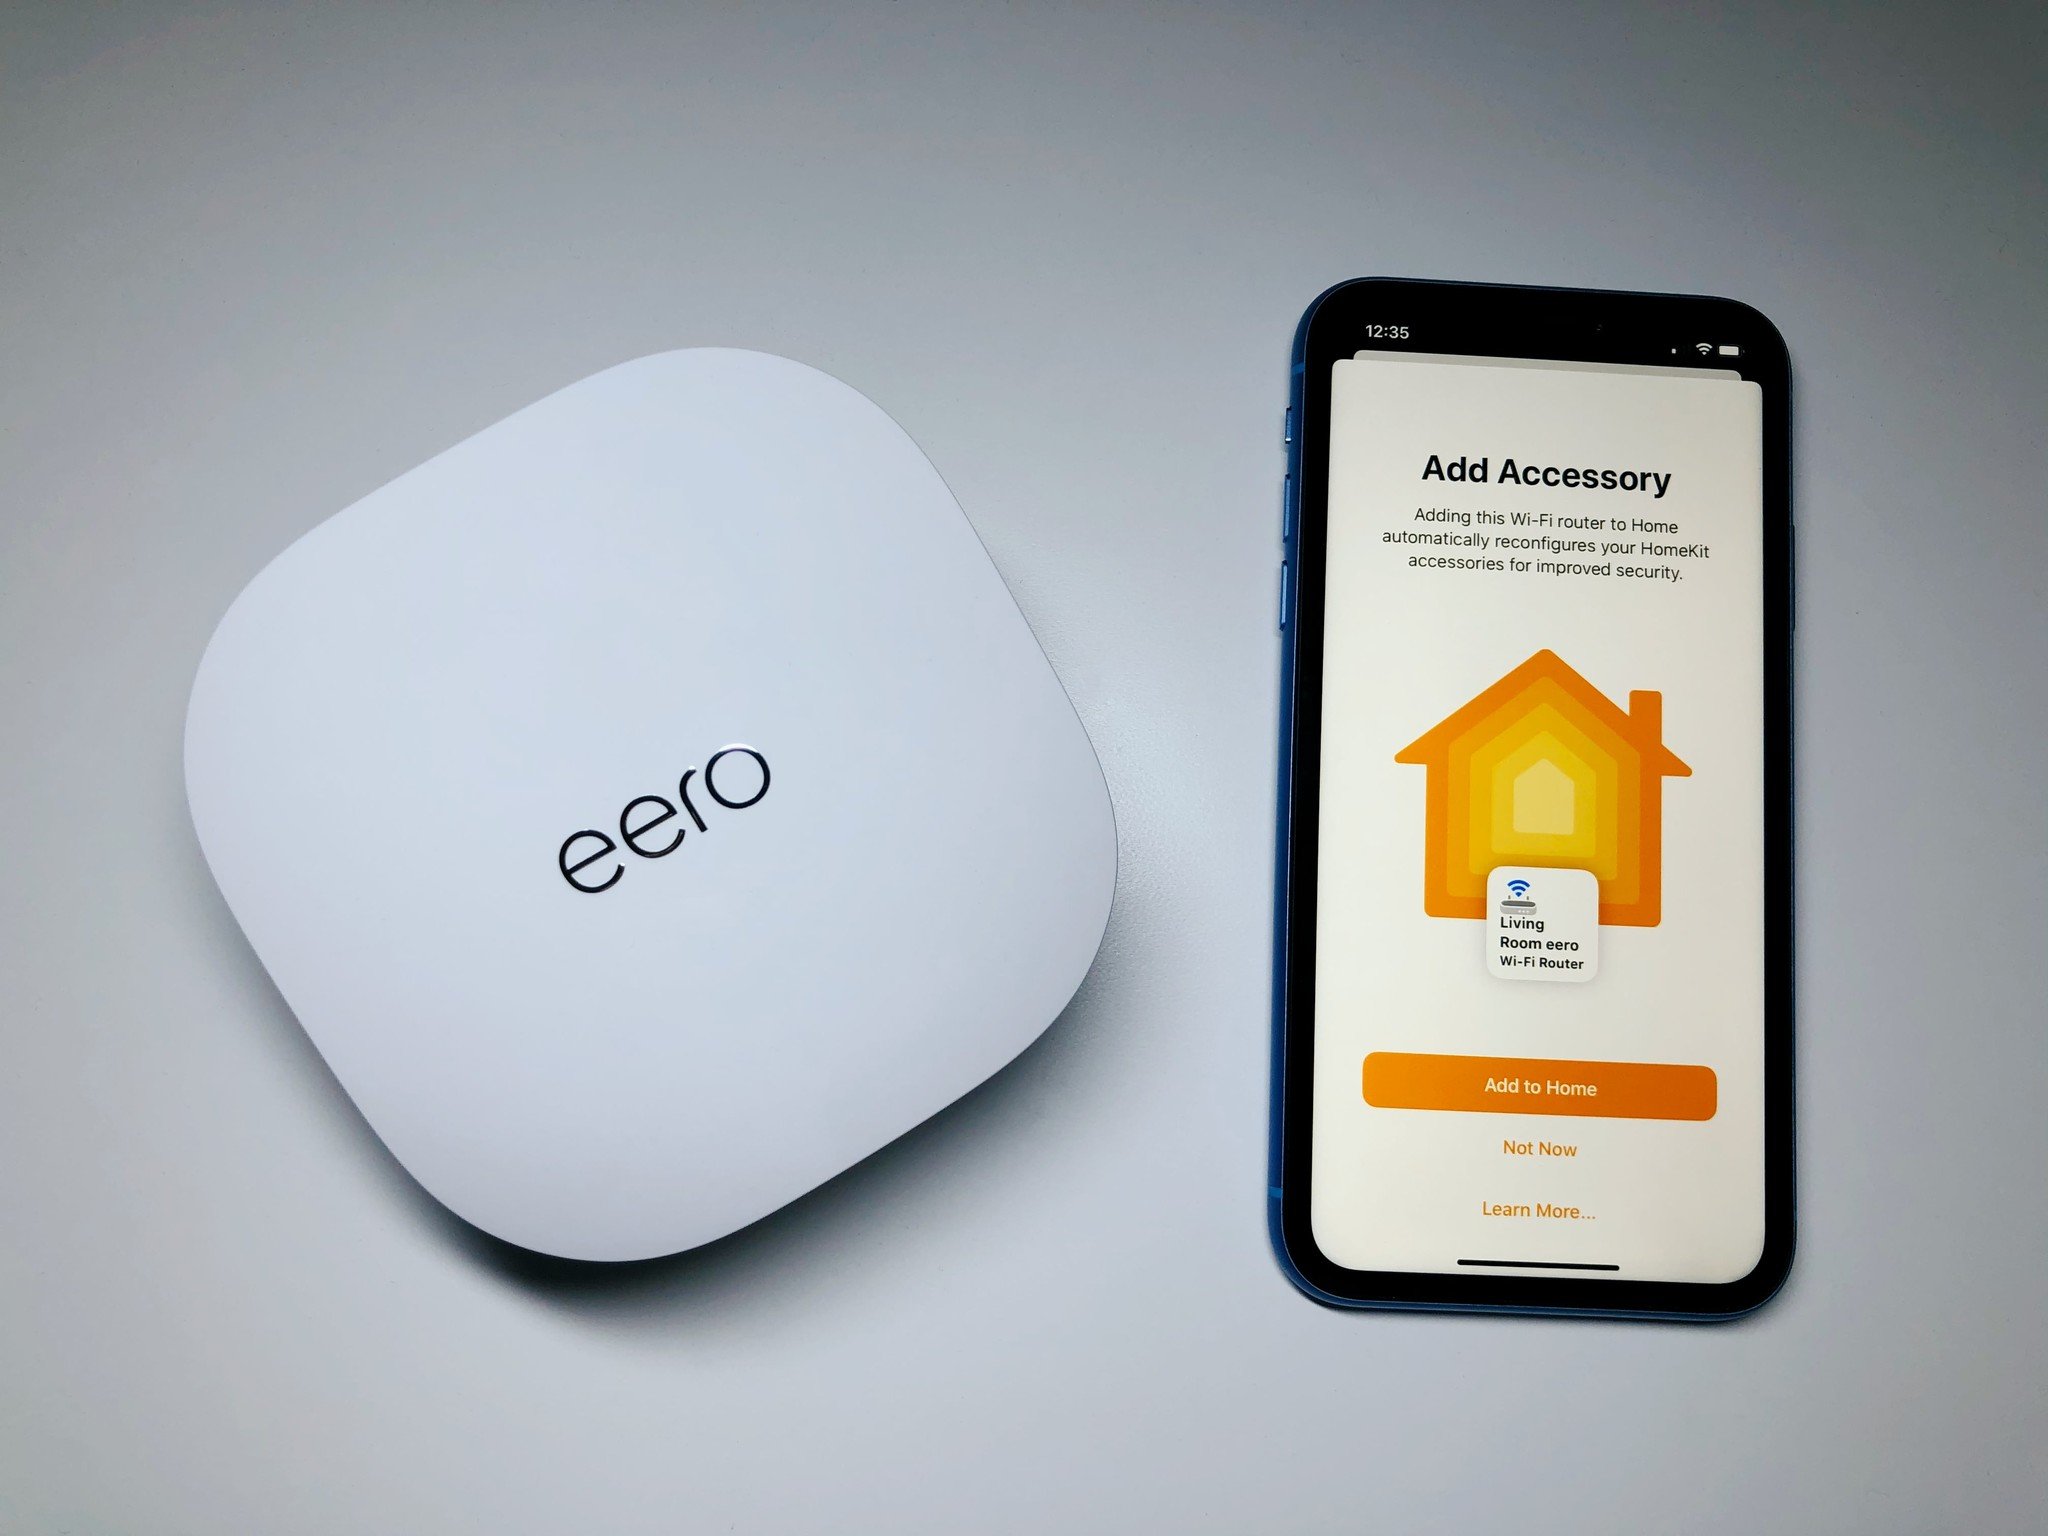
HomeKit Secure Routers allow you to manage the services and connections that HomeKit accessories in your home can access. At the moment, there are only two router manufacturers that support the feature, eero and Linksys, each with a few different models that offer expanded range and capabilities.
Every router with HomeKit support that you can buy today
Through the Home app, you can set one of three security levels for Wi-Fi HomeKit accessories. These options range from granting your accessories unrestricted access to the internet to locking down all of the traffic to just your local network without any outside connections.
Yep, you read that right, with HomeKit Secure Routers, you can make all of your HomeKit accessories local, only allowing them to communicate with your HomeKit hub if desired. The most restrictive setting can interfere with things like firmware updates, though, but in our testing, we found that most core accessory functionality worked just as fine as ever.
Here’s the breakdown of all of the available HomeKit Secure Router options:
- Restrict to Home: Only allow connections to your home hub. This may block firmware updates or other services.
- Automatic: Allow connections with an automatically-updated list of manufacturer-approved internet services and local devices.
- No Restriction: Allow connections with any internet service or local device. This provides the lowest level of security.
HomeKit Routers: Everything you need to know
How to manage HomeKit-enabled routers in the Home app
Wallpapers
The Home app lets you personalize the app with custom wallpapers for your Home and your Rooms. If you have multiple houses with HomeKit-enabled accessories, custom wallpapers can help you quickly differentiate between homes. It’s also an easy way to differentiate between Rooms within a home.
How to add custom wallpapers in the Home app
Home Notes
Home Notes are a little like the dry-erase board on the fridge or the guest book in an Airbnb location.
If you input notes in the Home Notes section of the app, everyone who’s a member of your shared home will be able to see the notes. You can set ground rules (hello, Airbnb hosts), let your kids know you popped out to get groceries, store HomeKit accessory codes, or troll your significant other — the choice is yours.
How to add Home Notes to your Home
Automations
«When I leave the house, turn off my bedroom lights and turn up the thermostat.»
«If my smoke detector senses smoke, turn on all my lights and set them to red.»
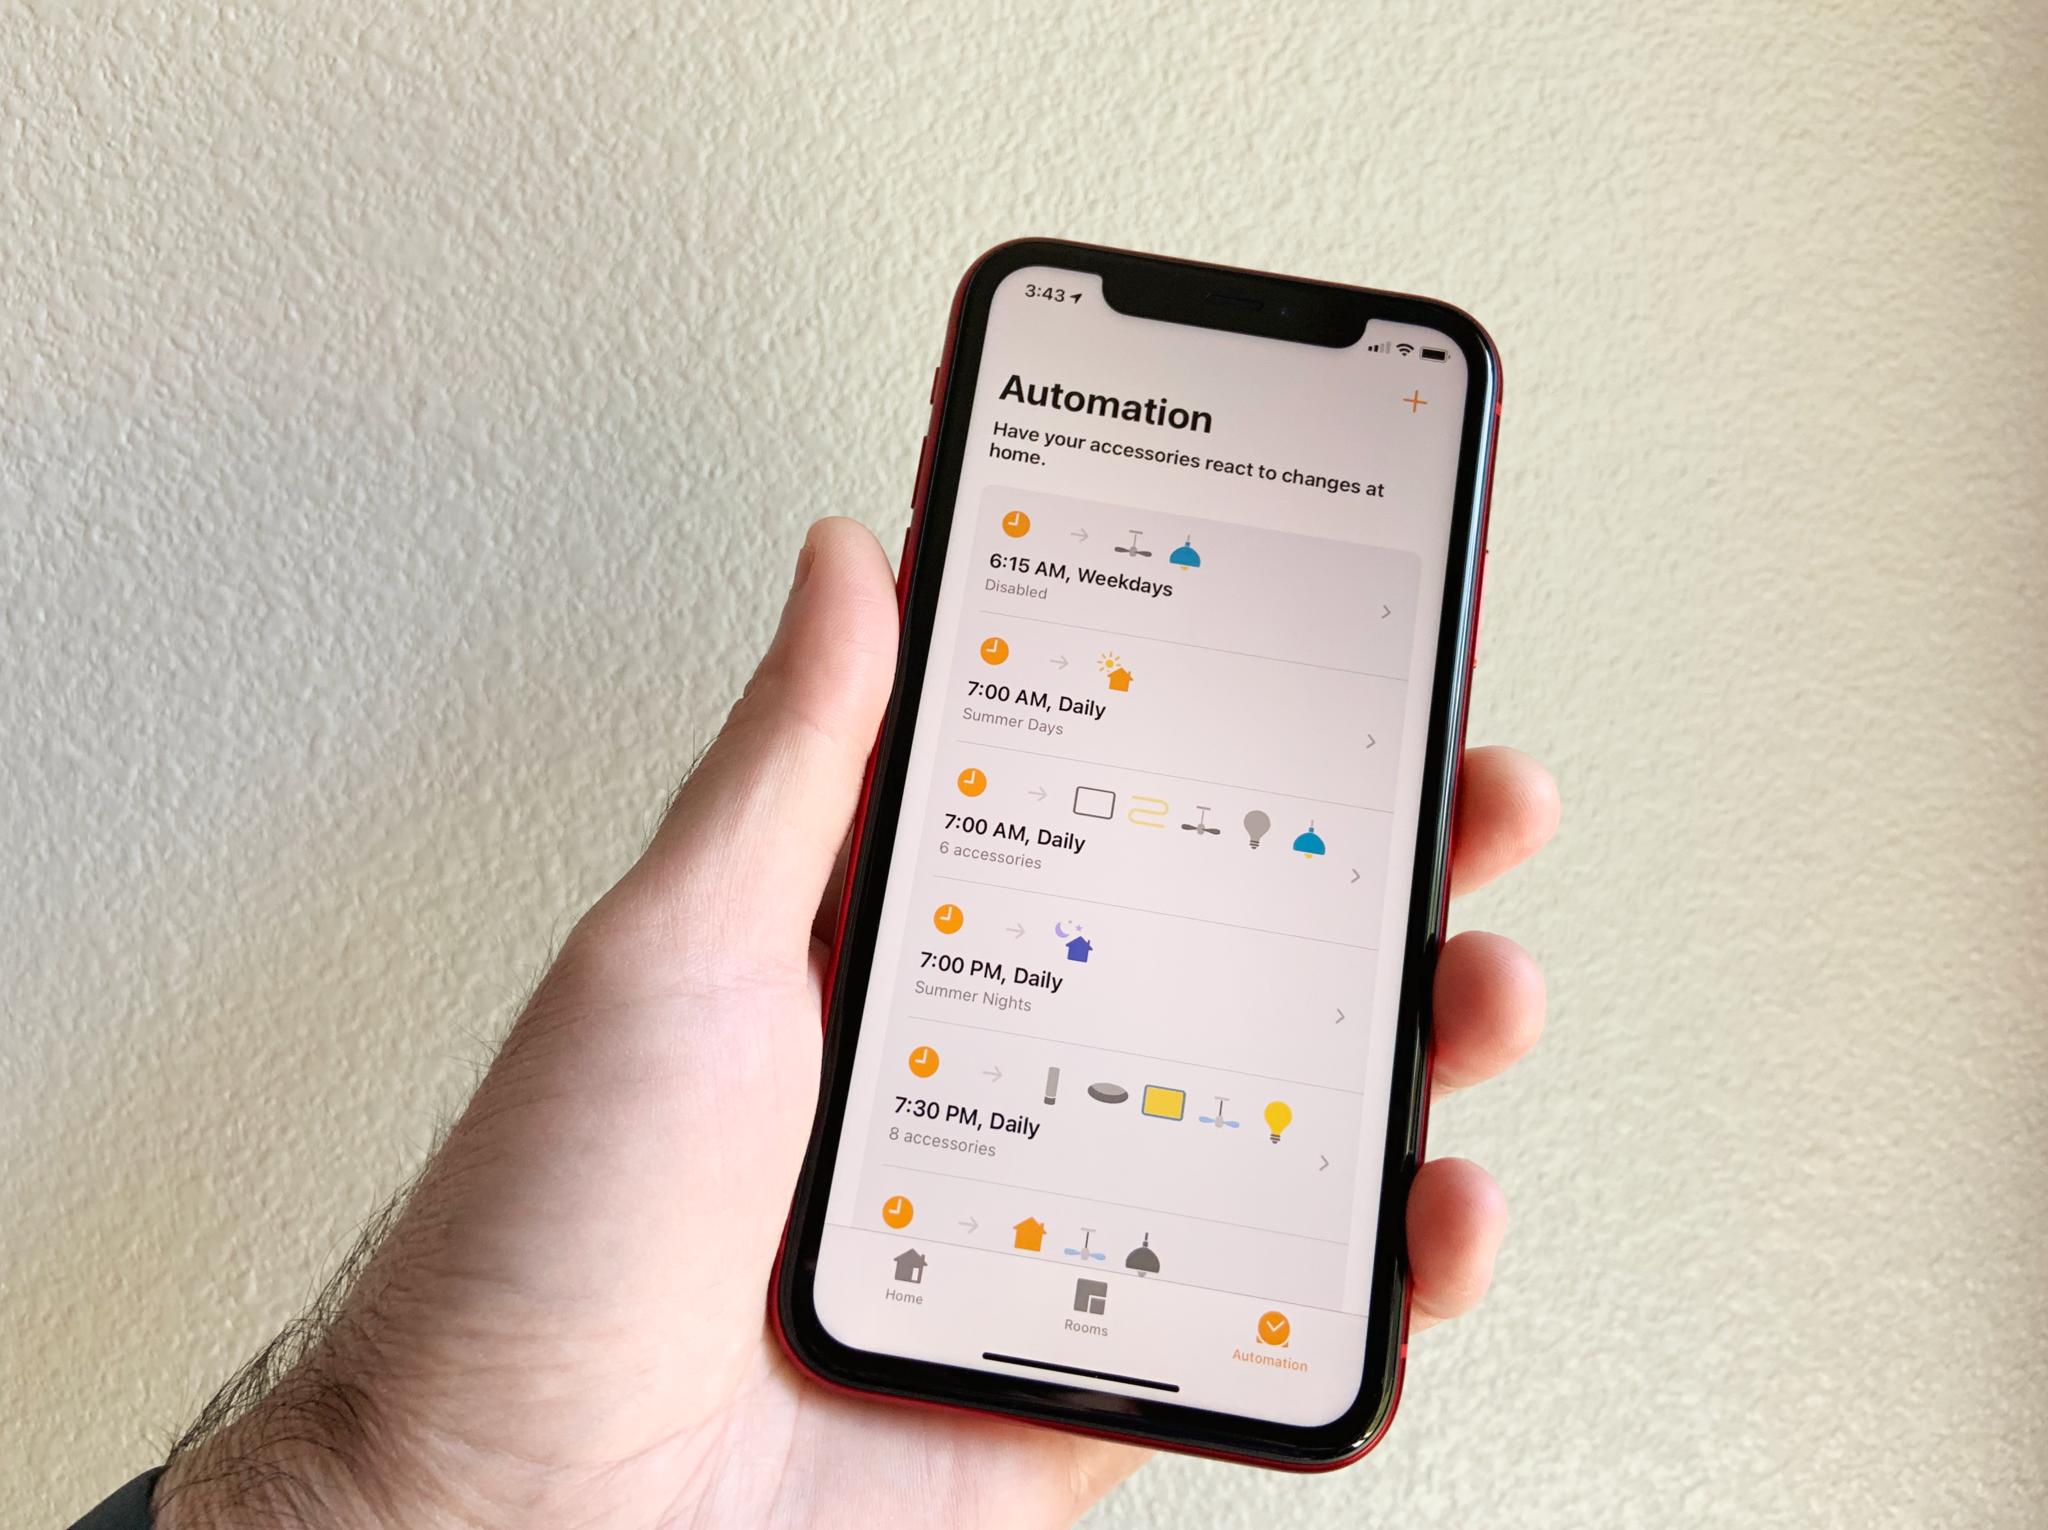
Those are just two examples of the tasks you can create with Automations. Ultimately, it’s exactly what it sounds like: A way to automate your smart home, based on various triggers and corresponding outcomes. While entirely optional, automations are extremely powerful as they can manage the lights, locks, and even allow your HomePod to act as a security alarm, all automatically at pre-set times or on specific days.
Automations may seem a little daunting at first, but the Home app makes the process of setting one up extremely easy. Most automations can be set up in a minute or so, and all it takes is a few taps and swipes. Want to get started with automations? Then check out the guide below!
How to create automations in the Home app
HomeKit Hubs
Many HomeKit-enabled accessories already offer some form of remote access, but if you’d rather control your lights, thermostat, switches, etc. from one app (the Home app), HomeKit Hubs make that task easier.
The Apple TV (HD and 4K models), iPad, and HomePod can act as a HomeKit Hub when set up under your Apple ID, allowing you to create automations, access your accessories from remote locations, and more. HomeKit hubs also enable advanced features like Face Recognition and Activity Zones with HomeKit Secure Video-enabled cameras and increased security with HomeKit-enabled routers.
How to make your Apple TV or iPad a Home Hub
macOS
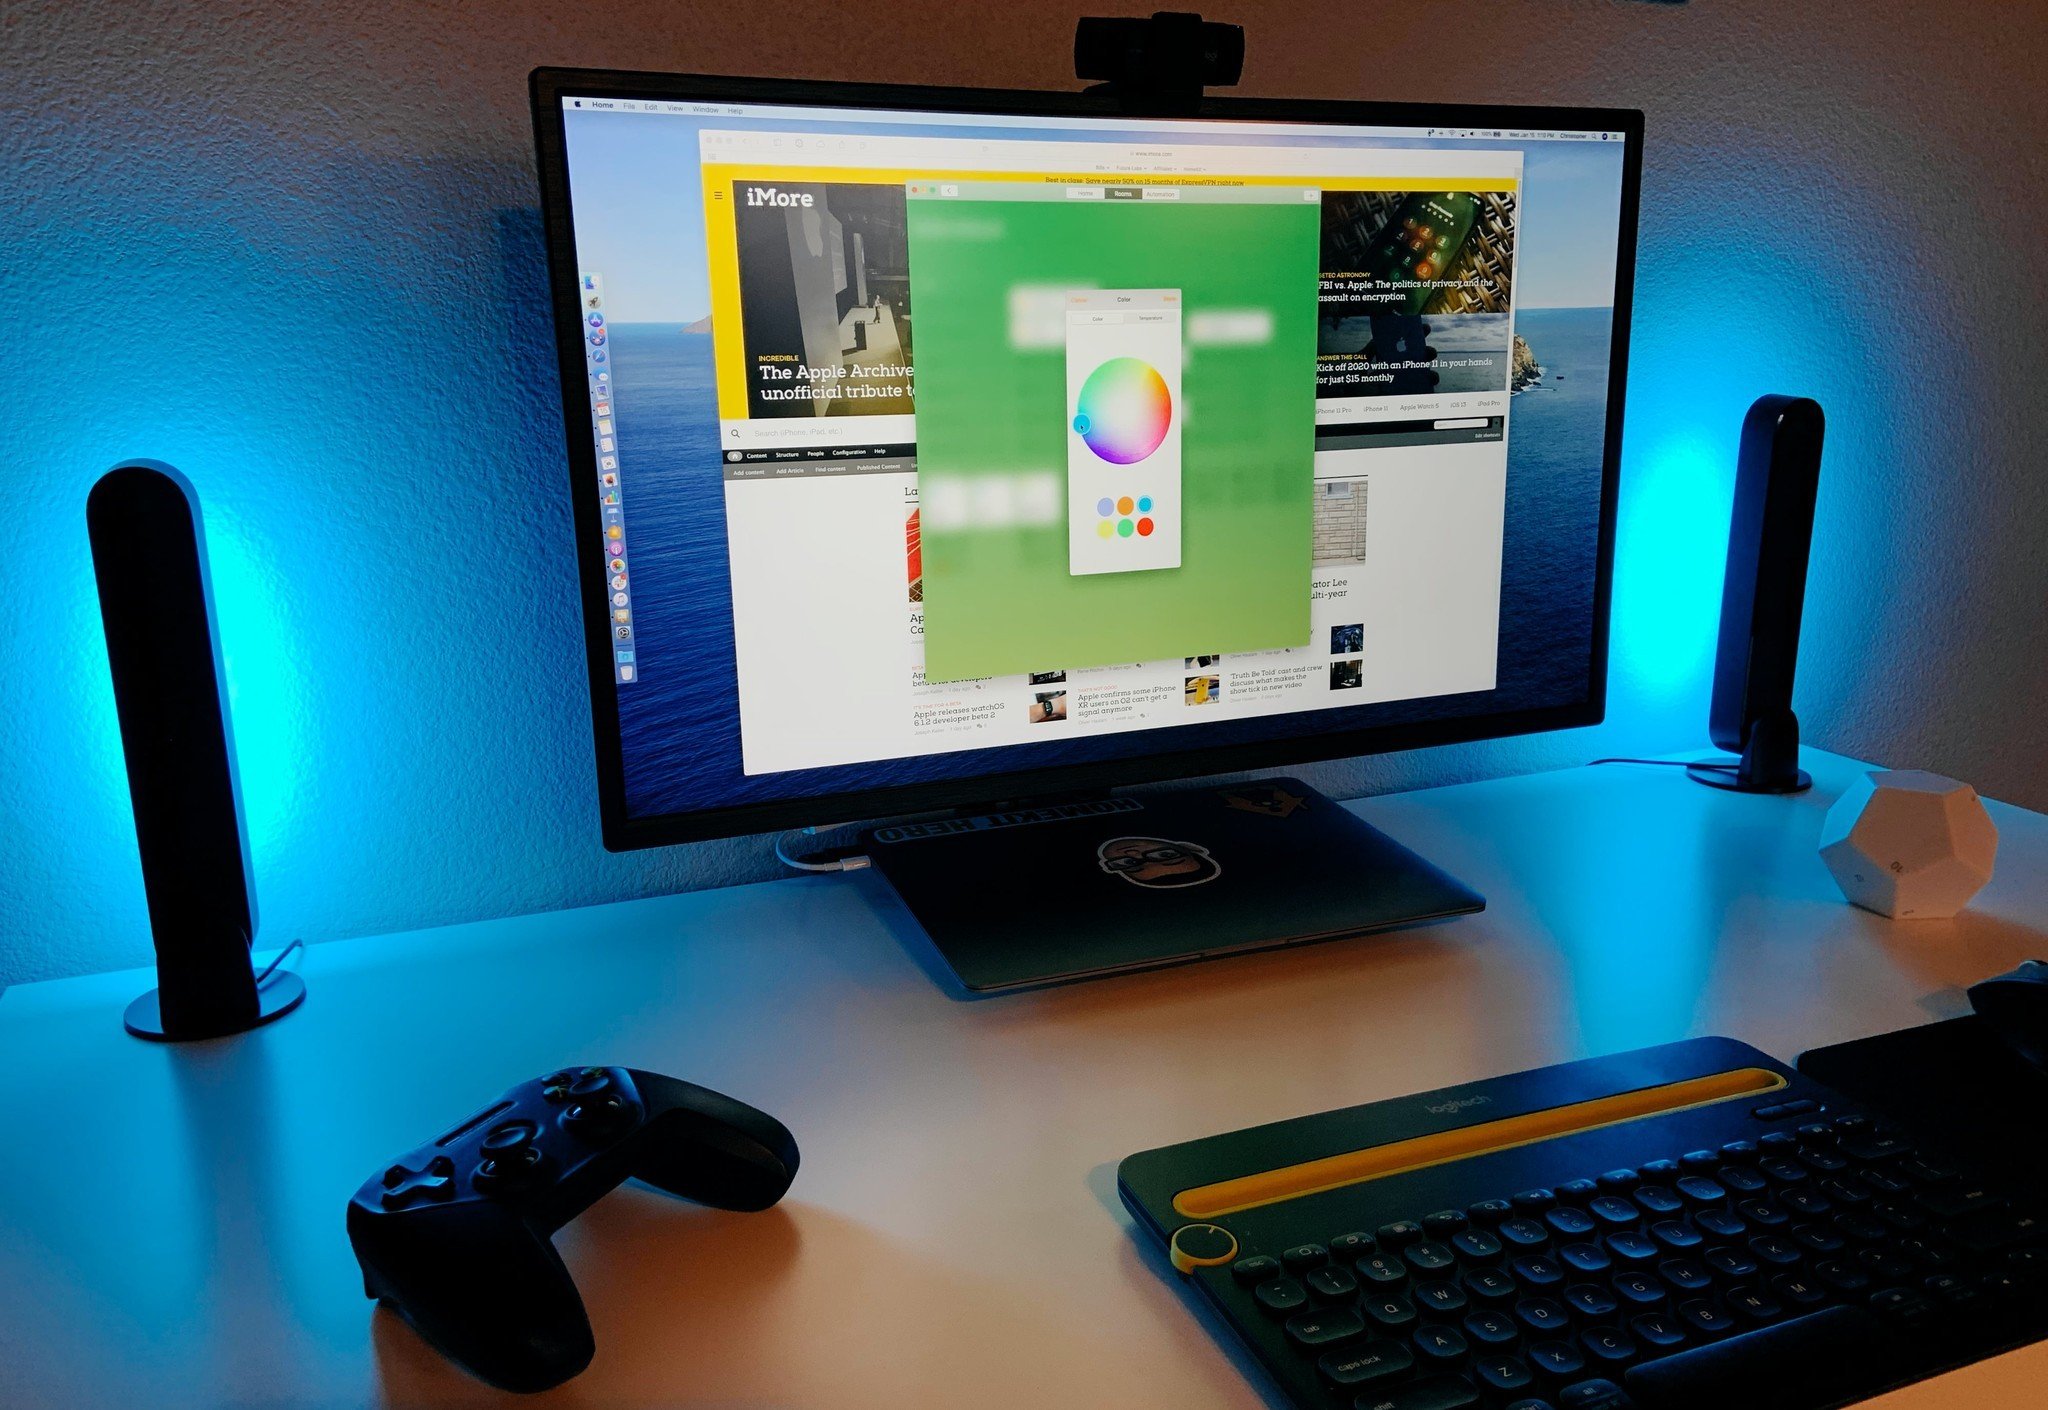
Beginning back with macOS Mojave, the Home app is also available on the Mac. Part of Apple’s initiative to make it easier to bring iOS apps over to macOS, the Home app for Mac features most of the same functionality that you’ll find in its iOS counterpart, from control over individual accessories to managing rooms and scenes. However, interacting with accessories involves clicks and right-clicks versus taps and long presses.
While we love using the Mac to peek into our HomeKit cameras through a picture-in-picture view, and for status notifications, there are some significant limitations. On the Mac, you cannot add HomeKit accessories to the Home app at this time, and third-party HomeKit apps are not available as of yet.
How to set up and start using the Home app on Mac
watchOS
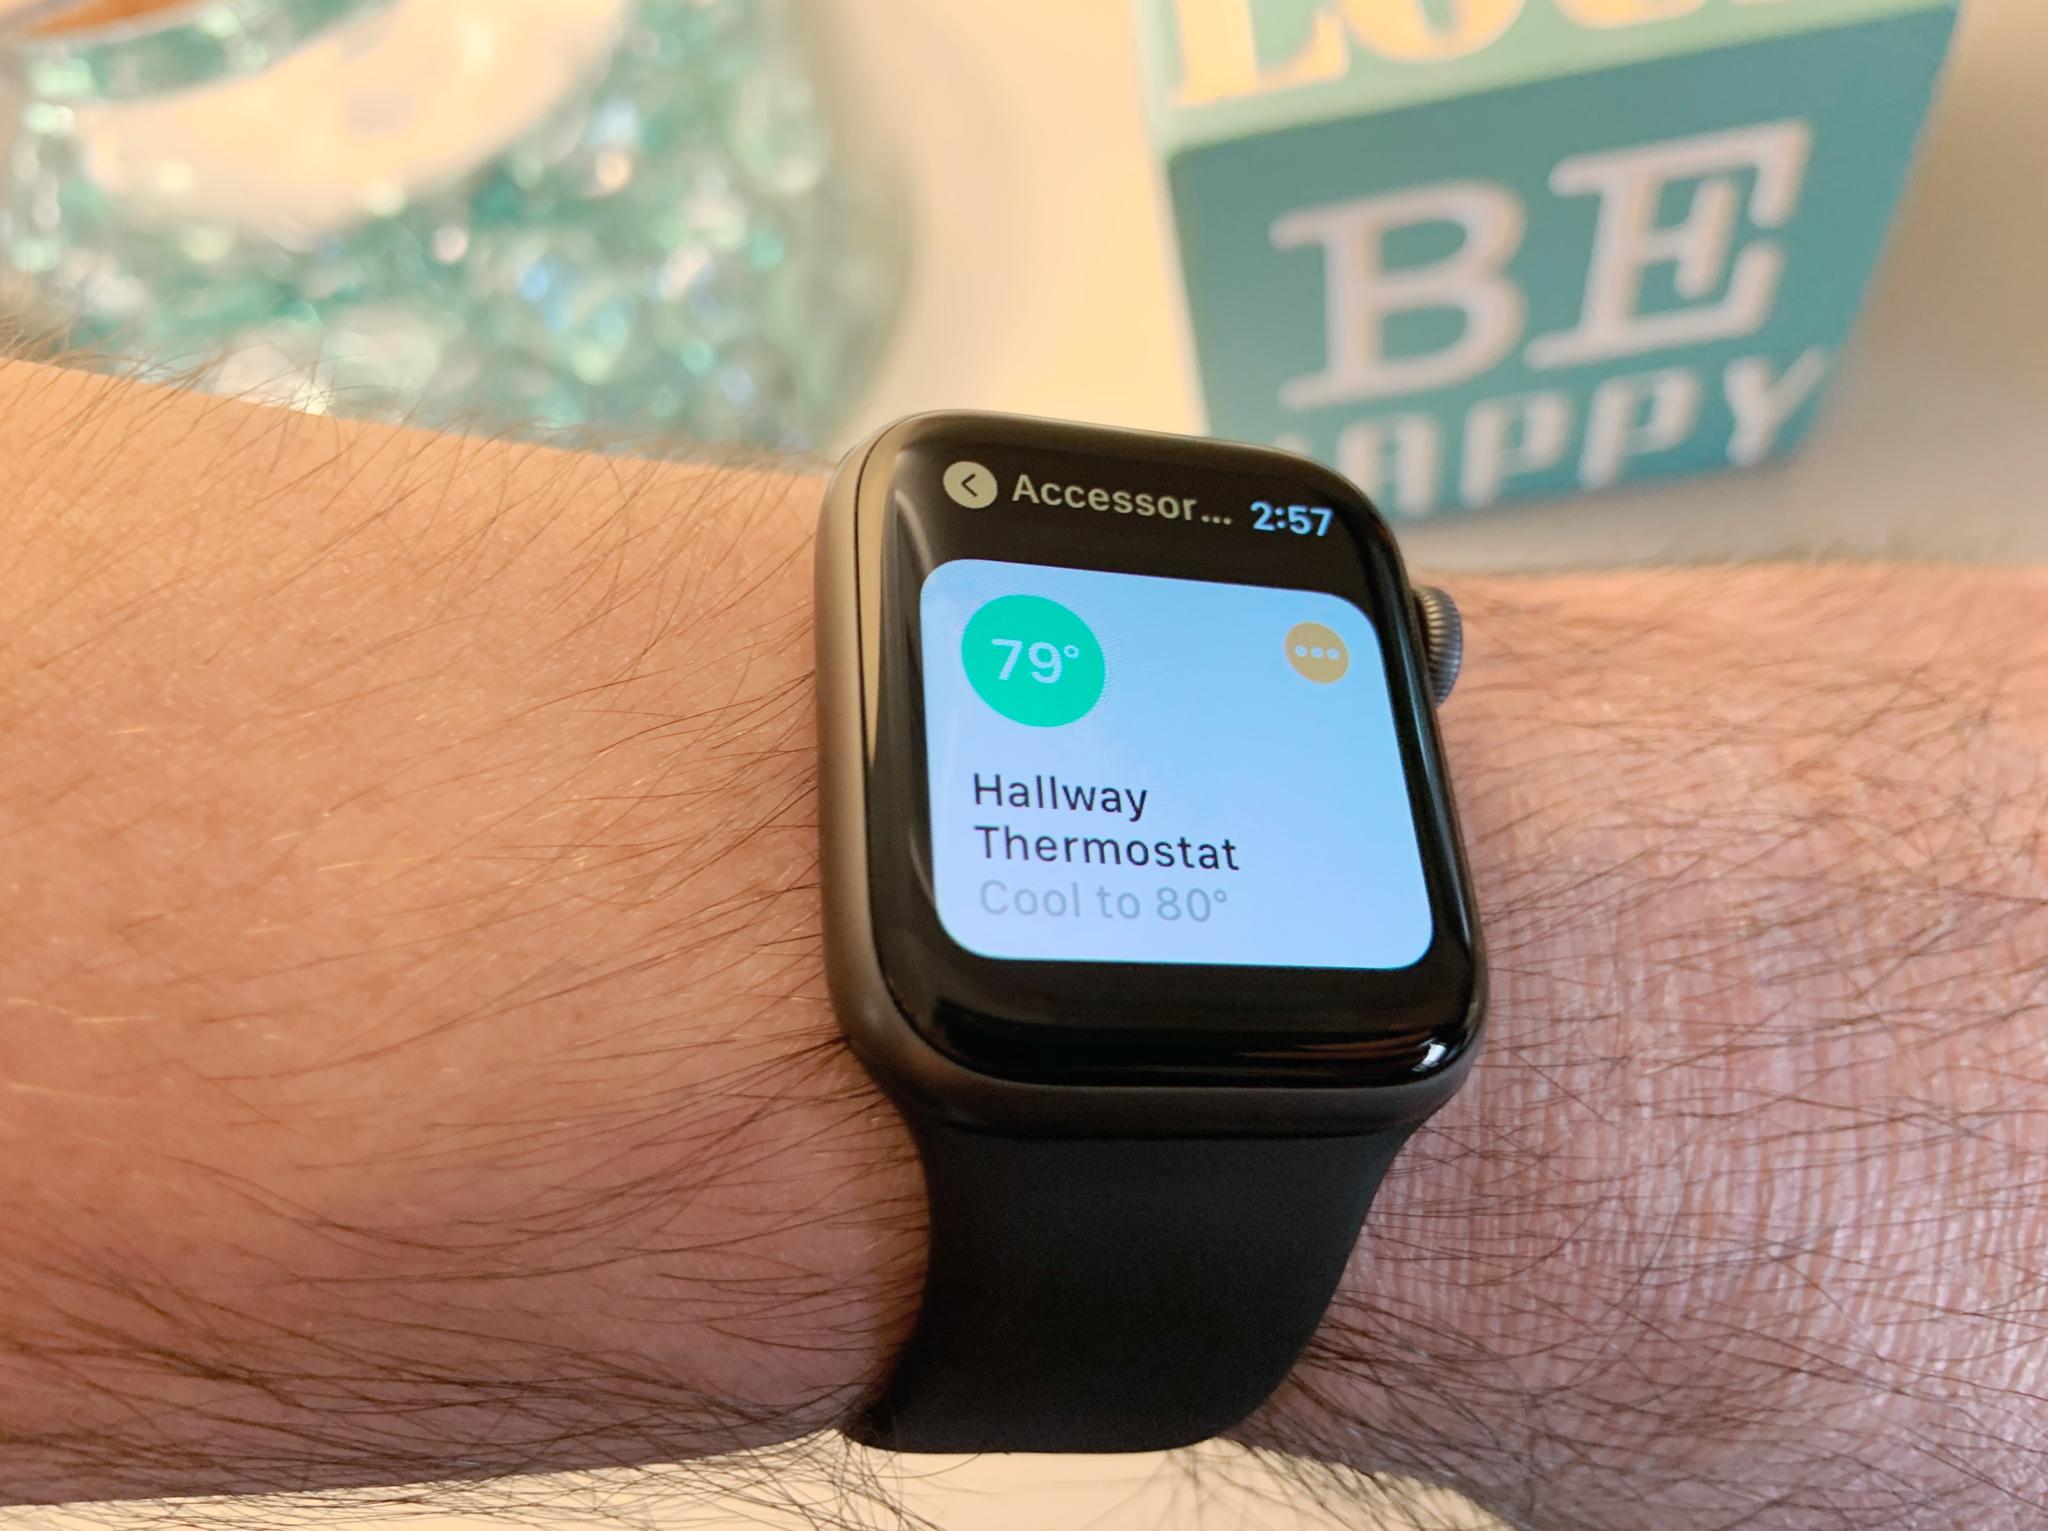
The Apple Watch is a great way to control your HomeKit accessories via Siri, but Apple also provides a scaled-down version of the Home app for your wrist. In the watchOS version of the Home app, you can view and interact with your favorite accessories using taps to quickly toggle things, such as your lights, on and off. Also, just like on iOS, you can tap and hold on an accessory to gain access to finer controls, like dimming the lights down using a swipe, or even with the digital crown.
Live camera feeds also are available directly on your Apple Watch, complete with 2-way audio control that allows you to communicate with those in your camera’s view. Plus, notifications from the Home app on your watch also display a thumbnail image of motion events as soon as they happen, giving you the ability to keep an eye on the situation if necessary.
How to use the Home app on Apple Watch
Updated October 2020: Updated for iOS and iPadOS 14.
Source: imore.com






Комментариев нет:
Отправить комментарий