Are you a celery fan? Done right, it’s satisfyingly flavorful with a pleasing texture that leaves you wanting more.
But it can be difficult for the home gardener to achieve this without applying a little extra attentive care.

Done wrong, celery’s either too watery and stringy to enjoy, or so bitter you’re tempted to spit it into a napkin. Cooking might reduce its bitterness, but that’s not the type of blanching we’re talking about here.
Rather than heat-treating and robbing celery of its crunch after harvest, this article will teach you how to apply a gardening technique to your crops that will improve texture and flavor.
You don’t want to miss this step!
So, now that you’ve got your celery started in your garden, it’s time to figure out how to blanch it so you can enjoy perfectly crisp, flavorful stalks come harvest time.
I know I can’t be the only one who hates cooking the life out of fresh veggies.
After blanching, your homegrown celery will maintain its texture and flavor, even when it’s been cooked down a bit in a soup or stew.
What You’ll Learn
What Is Blanching?
The word “blanch” first appeared in common use in England in the 1400s. Derived from the French words blanc and blanchir, it means “to whiten.”
In many types of plants, such as cabbage, blanching happens naturally. Have you ever noticed that outer cabbage leaves are much greener than the innermost folds of the plant?
This is because the sun doesn’t reach those inner layers. The outer leaves act as a barrier, preventing photosynthesis and the production of chlorophyll.
Blanching is the practice of covering the stems of your celery plant for two to three weeks prior to harvest, to limit exposure to the sun.
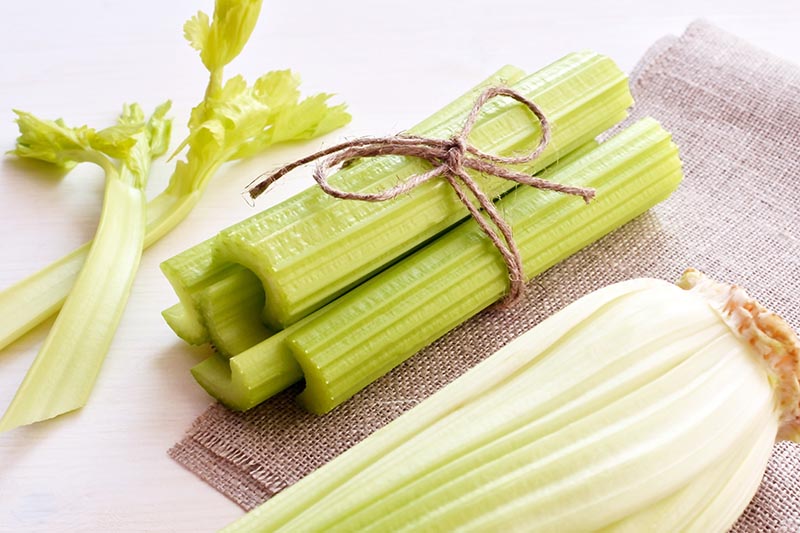
The blanched portions of any plant are pale and lack the vibrant green color of unblanched plants, and there are differences in flavor as well.
You really notice this in savory, bitter plants like celery. Blanching reduces bitterness, allowing the plant’s natural sweetness to shine.
Celery is one of many plants that benefit from blanching in the garden. This technique is also used to improve the flavor of endive, asparagus, leeks, cauliflower, and rhubarb.
So if you struggle with the bitterness of your homegrown celery, it’s time to give it a try.
The First Rule of Blanching Celery: Wait
You might be eager to blanch your celery the moment little stalks start shooting out of the earth.
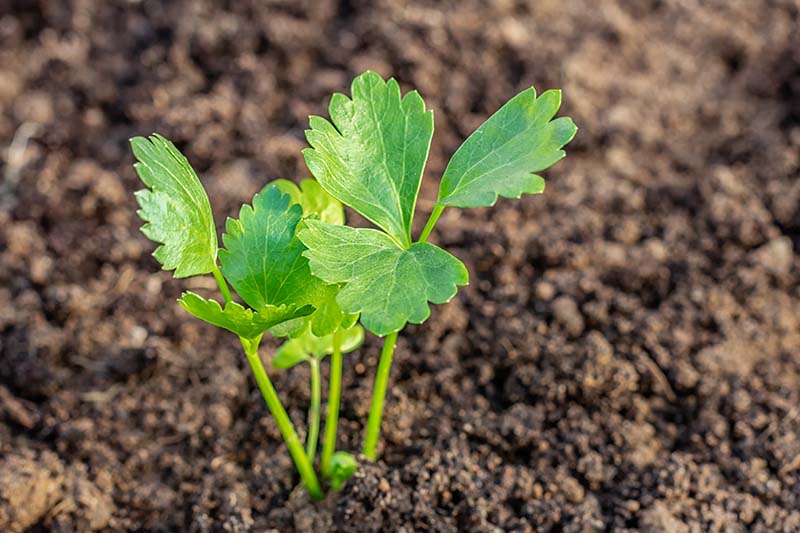
But the first thing you need to do is thin your celery plants so there is no more than one plant spaced every six inches, giving the roots plenty of room to grow and thrive.
Then, you need to wait.
And wait, and wait, until your celery stalks are two or three weeks away from being ready to harvest.
Since celery has an approximate time to maturity of 130-140 days, you’ll want to make a note in your phone or garden planning notebook so you don’t miss the opportunity to blanch your crop.
Once your celery is about three weeks away from harvest, you can blanch it.
Start blanching three weeks out for lighter, sweeter celery, or two weeks from harvest to maintain a slightly stronger flavor and more robust stalks. Keep in mind that the greener the celery stalk, the more nutrient-dense it is.
So yes, if you blanch your celery, it will have a lower concentration of nutrients as a result. But it’s still rich in fiber, vitamins K1 (the plant-based form of vitamin K, also known as phylloquinone), C, and A, magnesium, folate, phosphorus, potassium, and calcium.
And it’s much more palatable than bitter, unblanched celery!
Clean Up Your Celery Patch
Take out a pair of garden scissors or pruning shears and cut away any yellowed or broken stalks. Keep these to add to your compost pile.
This little bit of cleanup will make it easier to wrap your chosen blanching materials around your celery plants.
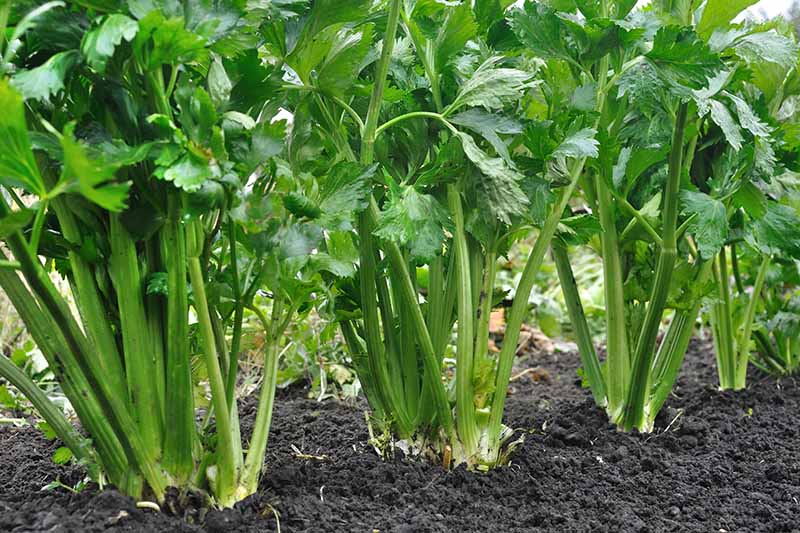
The plants that remain in the ground should be sleek and green, and spaced at least four to six inches apart. Now it’s time for the next step: blanching!
Choose Your Blanching Method
There are three basic ways to blanch your celery. We’ll cover each of these here, and you can choose which is best for you.
Newspaper
For this method, you will need a stack of newspaper and some twine or gardening tape.
This method is ideal if you’ve got a small urban garden or if you don’t have tons of extra space for something like mounding, which we’ll look at next.

To blanch your celery stalks with newspaper, first loosely tie the stalks together just under the leaves. Using a bow knot will make it easy to remove, plus you can reuse the string!
Wrap a page or two of newspaper around the stalks. The top of the newspaper should end just below the leaves – you still want the leaves to see the sun so the plant can keep growing.
You may have to cut the paper or fold it to make sure it fits the stalks.
Tie more twine or gardening tape firmly around the newspaper to hold it in place, and voila! You’re done. The newspaper will block sunlight from reaching the celery stalks and they’ll turn a paler green color.
Water your plant as you normally would, but try to avoid saturating the newspaper.
The newspaper might get a bit soggy, but it’s only going to be there for three weeks, so you shouldn’t need to worry about it too much.
If you live in an area with heavy rainfall, you may want to change out the newspaper after each day of rain or use a different method.
You can also try using pieces of cardboard or aluminum foil instead of newspaper, taking care not to rip it when you secure it in place.
The last thing you need to do? Remember to harvest your celery!
When about three weeks have passed and your stalks are at least six inches long, undo the bows, set aside the newspapers to reuse them if they’re still in good shape, and enjoy a homegrown garden-blanched celery stalk dipped in hummus.

You can find my favorite hummus recipe on our sister site, Foodal.
If you planted all the seeds at once, they’ll probably all be ready at the same time or within a few days of each other.
Quickly measuring each plant’s stalk length by placing a ruler on the outside of the newspaper and measuring from the base of the plant to where the leaves begin will tell you when the stalks are ready to pick.
Mounding
This method requires a hand cultivator and a trowel (or a shovel and rake, depending on the size of your garden) and some extra topsoil.
You can also use mulching materials such as wood chips, bark, straw, or even dried autumn leaves that you’ve saved.
Do you have a lot of celery growing and a big garden to support it all? The mounding method of blanching might suit you perfectly.
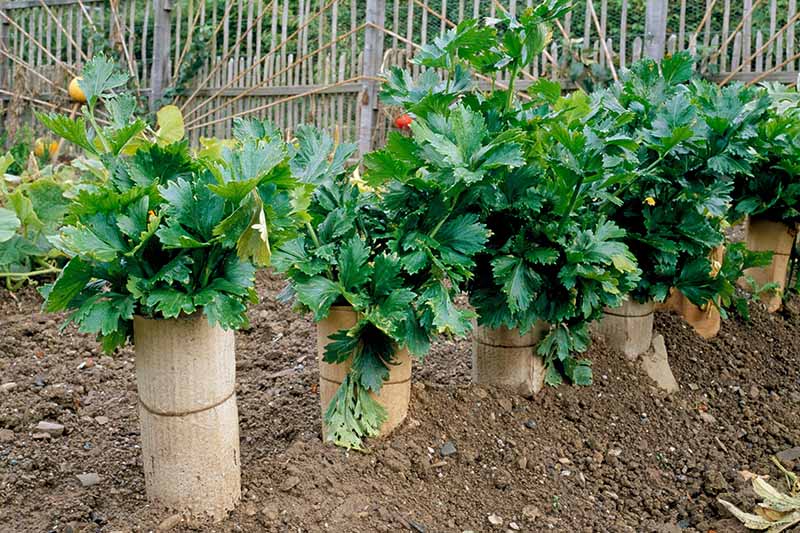
All you need to do for this method is rake the soil or mulch up around your celery stalks all the way to where the leaves begin.
You’ll end up with rows of buried stalks with just the leaves poking out. There shouldn’t be an increase in pests or disease to keep an eye out for, as long as you water the stalks at the base of each plant and keep the mounds relatively dry.
You may need to check the mounds every couple of days and build them up again as needed to keep up with plant growth.
You can probably tell that if you’re growing a large number of celery plants, this labor-intensive method can get tiring. But just think of those crisp, juicy stalks you’ll be able to enjoy at harvest time!
Waxed Milk Cartons
With a stash of waxed half-gallon milk cartons and a pair of sharp scissors at the ready, this method is perfect for the recycling-minded among us.
The first thing you’ll need to do is thoroughly wash the insides of the cartons.
This technique might be my favorite, and it’s the one I use in my garden. I usually start saving milk cartons during the winter months so I have a nice little stash ready to go once the gardening season begins here in Alaska.
To blanch your stalks with a milk carton, you’ll first need to cut the top of the carton off and slice the square bottom out to remove it. To measure the height, set the carton up against your stalks and mark the spot on the carton where the stalks end. Cut this, too.
Slide the carton carefully over your celery leaves and stalks, using one carton for each plant. Make sure the top of the carton is positioned below the leaves, as you don’t want to cover these.
Boom! You’re done.
This is the easiest method by far, but you’ll have to save up your milk cartons in advance. As always, remember to make a note of when they’ll be ready to harvest, and get ready to enjoy your fresh, crisp celery.
Enjoy Your Tasty, Tender Blanched Stalks
Blanching celery takes a little bit of elbow grease, but once you do the necessary work, you can sit back and watch your celery fade (if you peek).
Before you know it, it will be time to enjoy some tender, tasty stalks spread with hummus or peanut butter!
It may take a bit of trial and error before you find the length of blanching time that best suits your taste buds.
If your crop lacks flavor, you may want to try blanching again next year beginning 10 days before harvest next time, instead of three weeks in advance.
On the other hand, for celery that’s still too strong, next year you should plan to blanch closer to four weeks in advance of the anticipated harvest date.
Have you ever blanched celery in your garden before? What’s your favorite method? Do you have any tips to share? Let us know in the comments below!
And for more tips for growing vegetables in your garden, we invite you to read the following informative guides next:
- When and How to Blanch Maturing Cauliflower Heads
- How to Make Tomatoes Turn Red When They Refuse to Ripen on the Vine
- 9 Fast-Growing Vegetables and Herbs to Pep Up Your Pantry Menu
© Ask the Experts, LLC. ALL RIGHTS RESERVED. See our TOS for more details. Uncredited photos: Shutterstock. With additional writing and editing by Clare Groom and Allison Sidhu.
The post How to Blanch Celery in the Garden (And Why You Should!) appeared first on Gardener's Path.
Source: gardenerspath.com


Комментариев нет:
Отправить комментарий