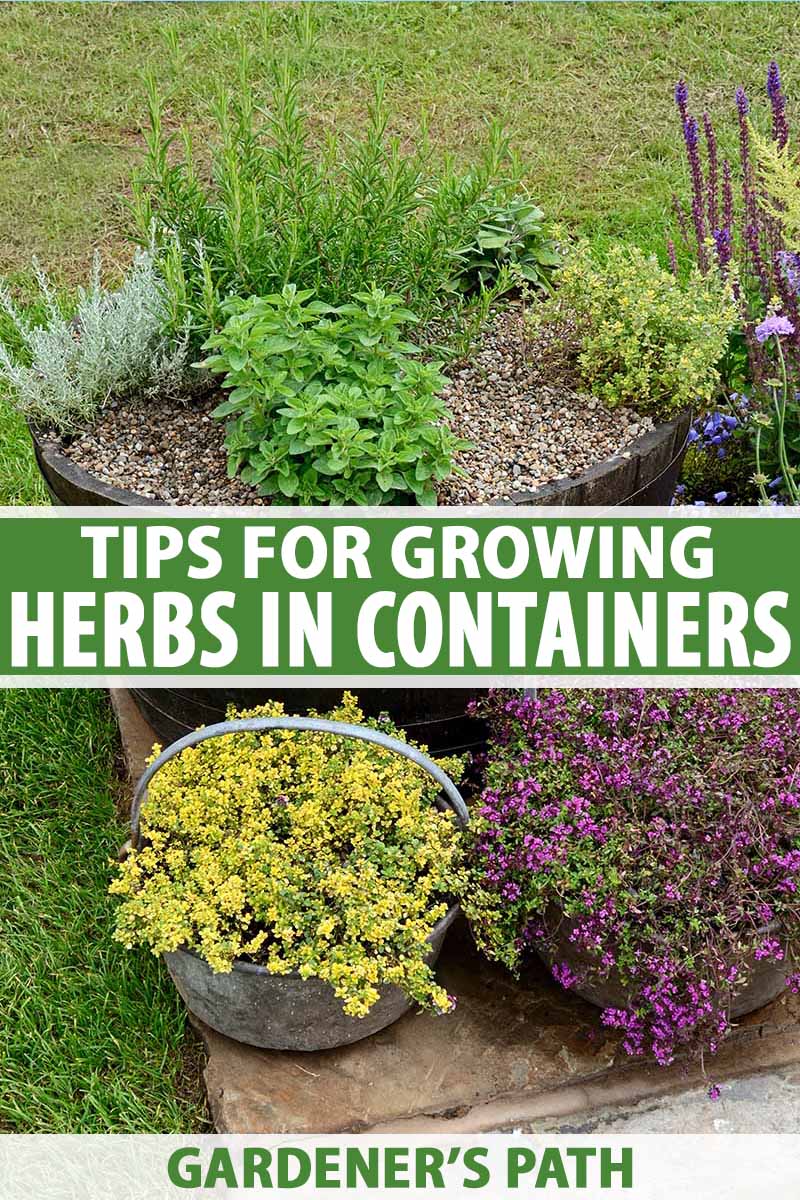
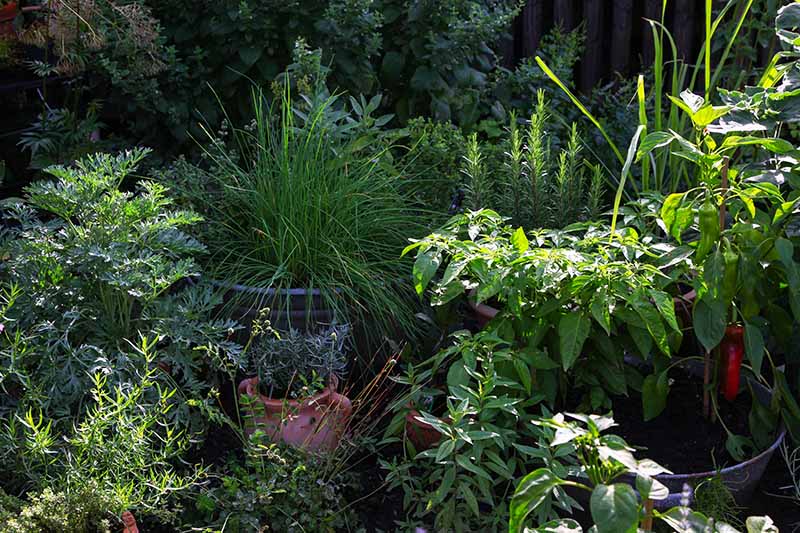
Container herb gardens are among the easiest and most rewarding of garden projects.
A must-have for cooks, herbs add wonderful flavor and fragrance to cooked foods and salads. But they provide many more benefits than just their use in cooking.
Many release their intense fragrances in the warmth of the afternoon sun or when you brush up against their leaves.
And most have enchanting, aromatic flowers that pollinators adore, and make an excellent addition to cut flower arrangements.
Herbs are just as easy to grow in containers as they are in the garden. So, you can enjoy them growing near the kitchen for convenience, or placed around decks and patios.
Plus, growing your own is an economical alternative to those pricey little packets at the market – and your pots of green gold have a garden-fresh flavor that can’t be beat!
Most herbs are robust plants that don’t like to be fussed over and many are drought tolerant once they are established.
Now, let’s get on with those tips to ensure your container herb garden thrives all summer! Here’s what I’ll cover:
What You’ll Learn
Which Herbs Should You Choose?
With such a large variety of herbs available, the best place to start is to choose what you’ll use on a regular basis.
From there, you can ask friends and neighbors for recommendations, browse seed catalogs, and check out our herb growing guides.
Or, if you tend to cook a lot of a particular cuisine, choose plants based on that theme.
- French cuisine favors bay, chervil, chives, fennel, garlic, marjoram, parsley, rosemary, tarragon, and thyme.
- A pizza, or Italian theme would include basil, bay, fennel, garlic, oregano, parsley, rosemary, sage, and thyme.
- For a taste of Mexico, cultivate chili peppers, cilantro, mint, oregano, parsley, and thyme.
- Asian-inspired cuisine would feature Thai basil, coriander (cilantro seeds), garlic, ginger, lemongrass, hot peppers, and star anise.
- If you put up a lot of preserves and pickles, plant a bay tree and sow celery, coriander, dill, and mustard for their seeds.
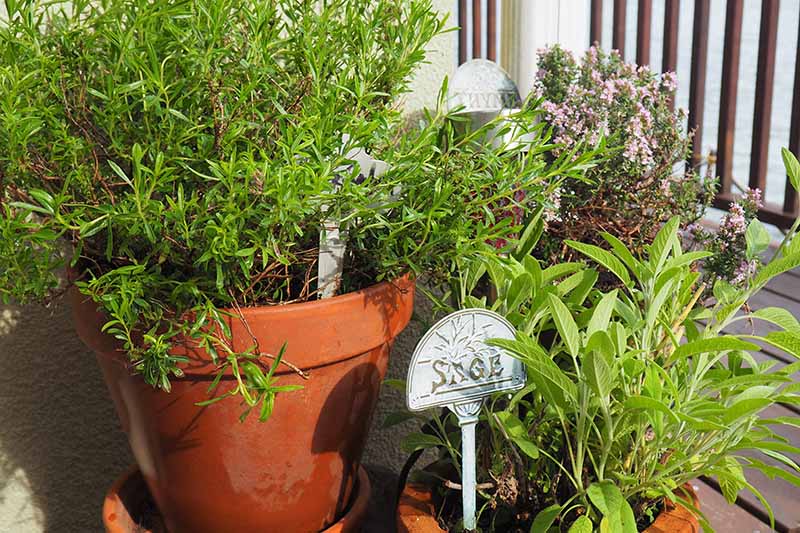
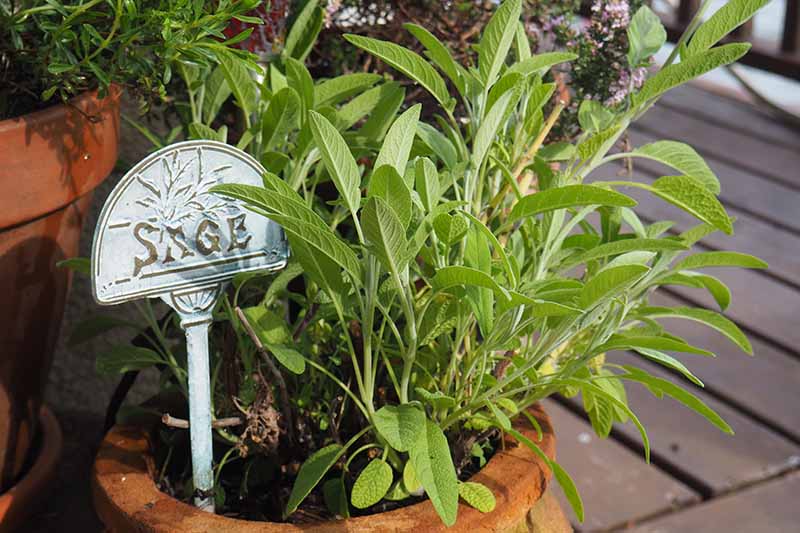
The foundation of your container garden should begin with herbaceous and woody perennials.
Chosen wisely, some of these plants can provide a year-round harvest –Provided they’re hardy for your climate and region.
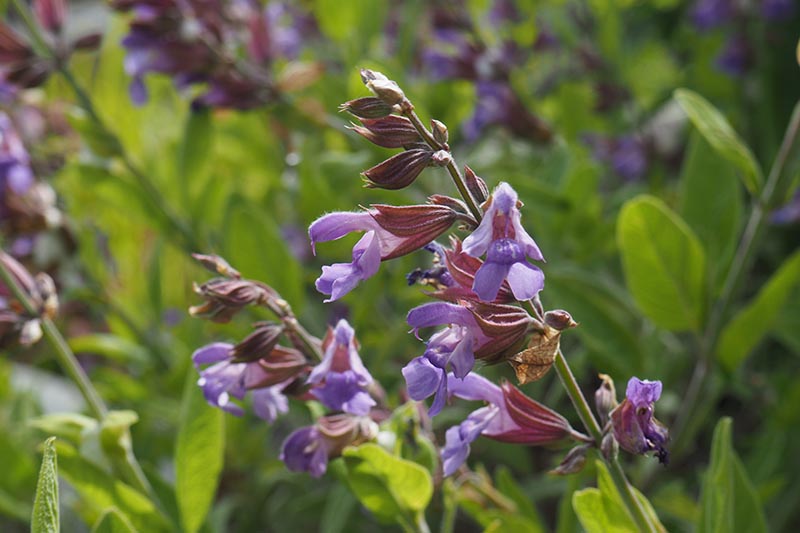
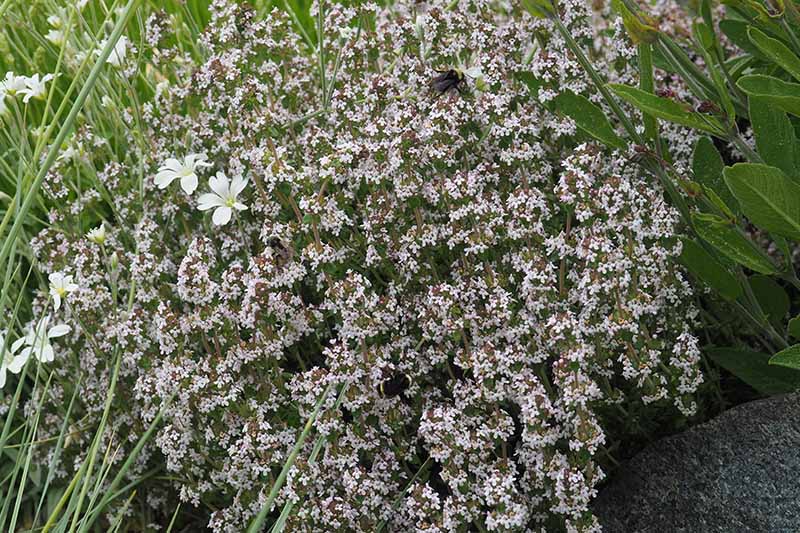
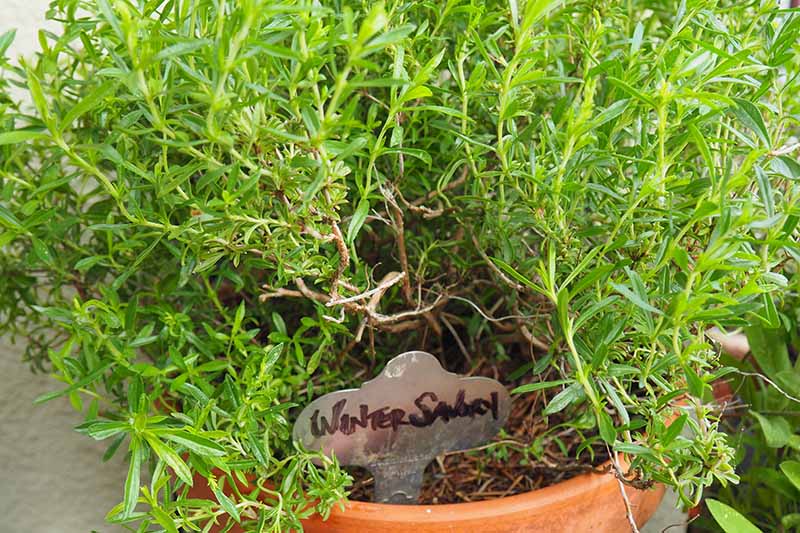
These include evergreens like bay, lavender, rosemary, sage, thyme, and winter savory.
Parsley, a biennial, can also grow all winter if pots are brought under cover or tucked into a sheltered site.
And many herbaceous ones, like chives, marjoram, mint, oregano, and tarragon, are among the very first plants to emerge as the days begin to lengthen – often well before winter’s officially over.
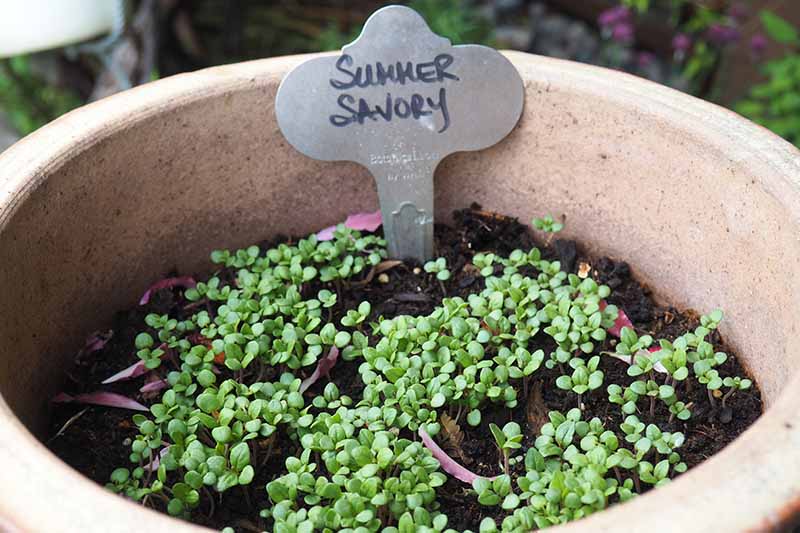
Annuals, such as basil, cilantro, and summer savory are quick growing and can be direct sown in pots once temperatures warm up in spring. Or you can start seeds indoors about six weeks before your last frost.
Learn more about which seeds to sow indoors and outdoors in this guide.
Site Selection
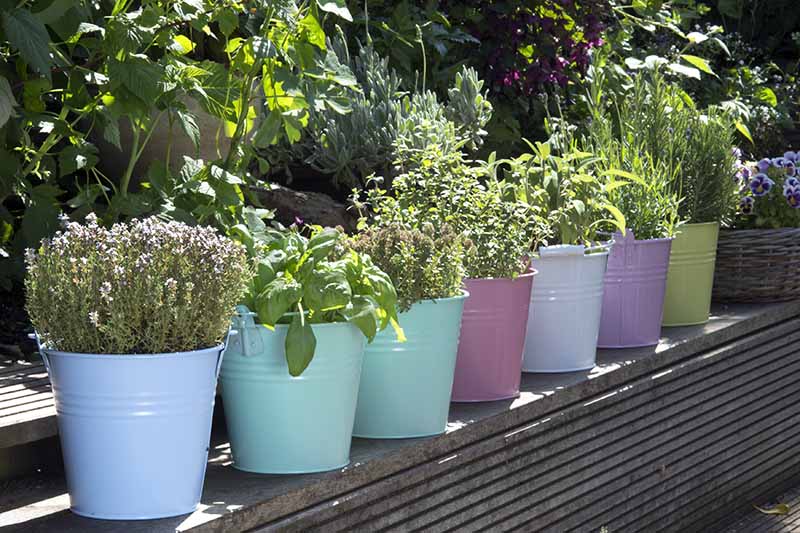
One of the great things about container gardens is that they’re portable.
Aside from the really jumbo-sized pots, you can lift, move, and rearrange them so they have optimal growing conditions all year long.
Position some close to the kitchen for quick convenience if desired.
They can be placed anywhere for you to enjoy their beauty and fragrance, and look terrific arranged on the deck, doorsteps, edging pathways, patios, and in window boxes.
But not all enjoy the same growing conditions.
Some prefer arid, hot conditions while others like to keep cool and moist with afternoon shade.
However, they should all receive a minimum of six hours sunlight each day. Aside from that, position your pots according to the needs of each plant.
And only mix plants in the same pot that share similar growing requirements.
You’ll also want to locate your pots close to a water source. Remember, containers dry out much faster than ground plants, and even drought resistant plants require regular watering.
If you have a large number of pots, consider using a drip irrigation line. They’re inexpensive, easy to install, and unobtrusive. And they help to reduce water consumption.
Water Wise Drip Irrigation System from Home Depot
Proven Winners has a drip irrigation system that includes everything you need, including tubing, drippers, and stakes. It’s available at Home Depot.
For even greater convenience, you can add a battery-operated timer.
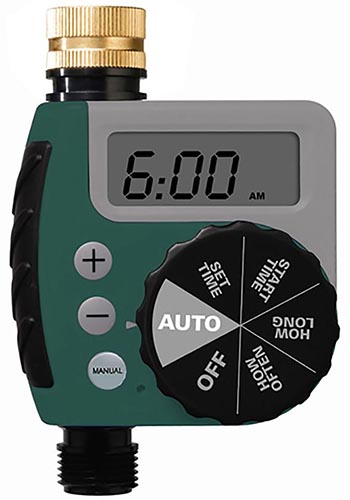
Orbit Single Dial Timer from Home Depot
The Orbit Single Dial Timer has a large display and offers day and time programming for a single zone, and it has a rain delay option as well.
You can find it at Home Depot.
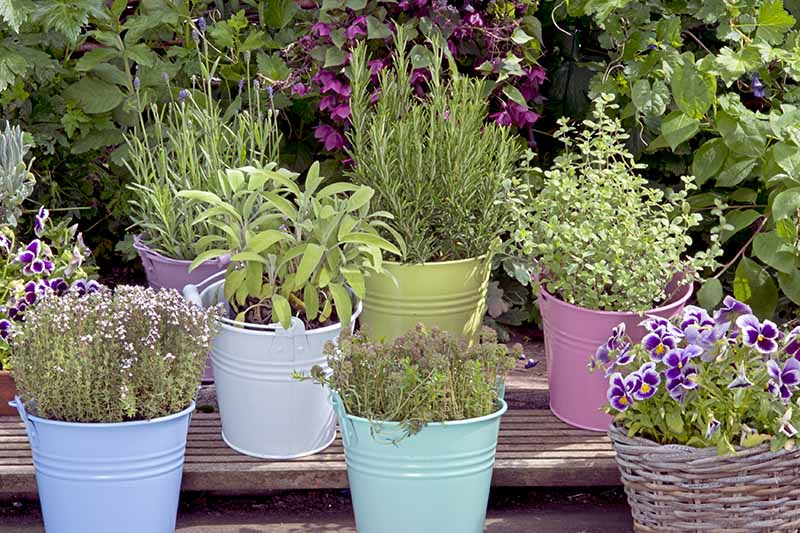
Pick Your Pot
Containers need to be large enough to comfortably hold the roots and keep the plant upright.
A good rule of thumb is to choose pots that are at least one-third as tall as the mature plant and half to three-quarters of its mature width.
Information about a plant’s mature size can be found on plant tags or seed packets.
For example, a low-growing plant like common thyme grows to 12 inches tall with an 8-inch spread. The minimum pot dimensions for it would be 4 inches tall and 4 to 6 inches wide.
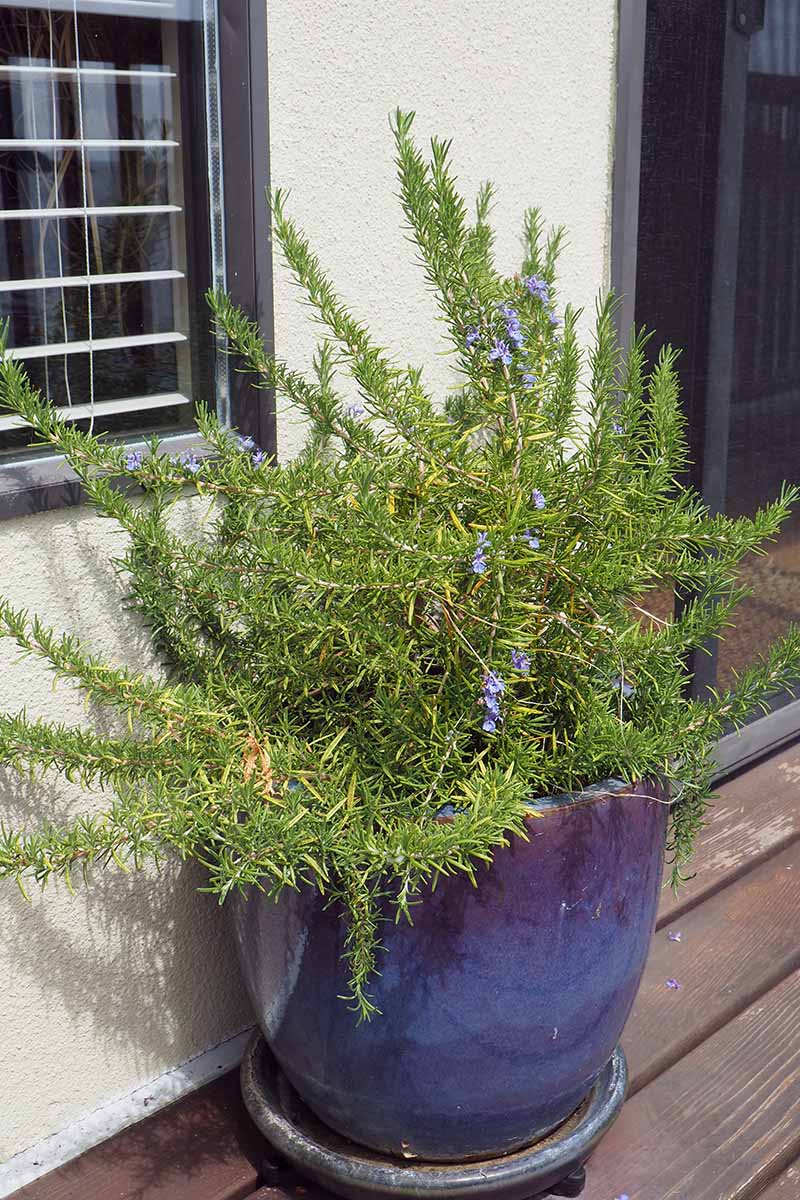
But, for larger plants, like lemongrass, rosemary, or sage, bigger is definitely better. For large specimens, the pot height should be closer to one-half of their mature height – or bigger.
Also, if you need to protect plants from winter temperatures, larger pots provide better cold insulation.
Whatever size you choose, each one needs to have drainage holes that allow water to drain away from the roots.
Root rot, caused by roots standing in water, is one of the leading causes of plant failure in containers.
I also recommend adding a layer of material over the drainage holes to prevent the soil becoming waterlogged. Coconut coir, pebbles, broken pottery, and other similar materials are all suitable to help drain away excess water.
Containers are typically made of materials such as ceramics, metal, plastic, resin, terra cotta, and wood, and which you choose is a matter of personal choice.
But plastic or resin are the best options for overwintering as they’re the least likely to be damaged by the cold. And they’re the lightest to move as well.
Double Your Pleasure
If you have the room, it’s a good idea to double up on your favorites with two pots growing at the same time.
Place one pot in the best growing site and when it becomes over-picked and sparse, move it to a location with dappled sunlight or light shade.
Once moved, it can rest, recuperate, and produce new growth.
Move your second pot into the prime growing location, then rotate the two pots as needed throughout the growing season.
Start with Good Soil
To ensure the healthiest start for your container herb garden, begin with a high-quality soil.

Container soil should be lighter in density than garden soil and enriched with organic matter. It should also be amended to provide excellent drainage as well as moisture retention.
The addition of landscape or builders sand helps to ensure good drainage.
And amending with light materials like perlite, vermiculite, or peat moss help to retain moisture without compacting or saturating the soil.
Here’s a good blend for potted plants:
- 1/4 garden soil
- 1/4 landscape sand
- 1/4 vermiculite or peat moss
- 1/4 aged compost or manure
This creates a light, airy soil that provides essential nutrients, easy water absorption, and free-flowing drainage.
For perennial pots, it’s a good idea to work in some aged compost each spring and to completely replace the soil every 3 to 4 years.
Water and Fertilizing
Containers can dry out quickly in hot or windy weather and need to be watered regularly, typically when the top inch of soil feels dry.
Usually, in-ground herbs don’t require any fertilizing. But for the best growth and productivity, potted ones should be fed regularly.
A diluted solution of fish emulsion fertilizer (half strength) applied monthly during the growing season provides the nutrients they need.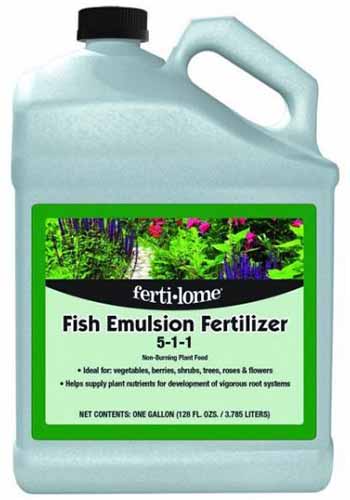
Fertilome Fish Emulsion Fertilizer
Fertilome fish emulsion fertilizer is available in three different sizes at Nature Hills Nursery.
Harvest Wisely
To keep new growth coming, pinch or pick your plants often.

With leafy, clump-forming plants such as chives, cilantro, lemongrass, and parsley, pick the outer leaves first, working in towards the center and up as you harvest.
Those that have upright stems, like basil, mint, oregano, and rosemary, can be snipped right above a set of leaves to encourage branching and bushiness.
Many herbs, such as basil, mint, and parsley, begin to lose flavor once flowers begin to form. To retain the best taste, pinch out flower buds and stalks promptly.
But don’t toss those flowers!
Not surprisingly, the flowers of edible herbs are edible as well – you can add them as a colorful garnish or salad topper for a pretty and zesty addition to meals.
Fall Cleanup
As the growing season winds down, begin your cleanup.
Lightly trim away dead or damaged stems on woody perennials, and cut herbaceous ones to the ground.
Remove any existing mulch and apply a new layer of mulching material for winter protection.
Empty pots used for annuals, clean them thoroughly, and store for winter.
Winter Protection
To prevent frost damage, move pots into a frost-free area for winter protection.
For larger containers, you can provide on-site protection for roots by insulating pots with branches, blankets, or bubble wrap.
And on chilly nights, you can give the topside of plants frost protection with fabric plant covers.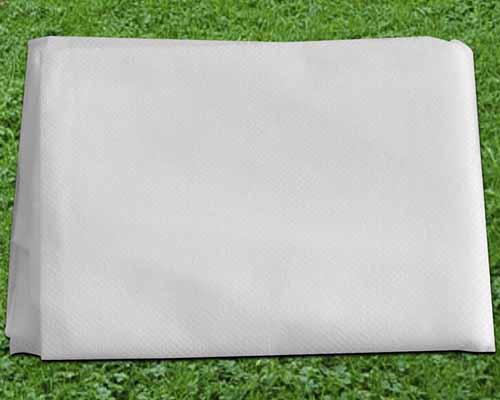
Warm Worth covers are available in a variety of sizes at Wayfair.
Pruning
Annuals don’t require pruning and herbaceous plants are simply cut to the ground in late autumn.
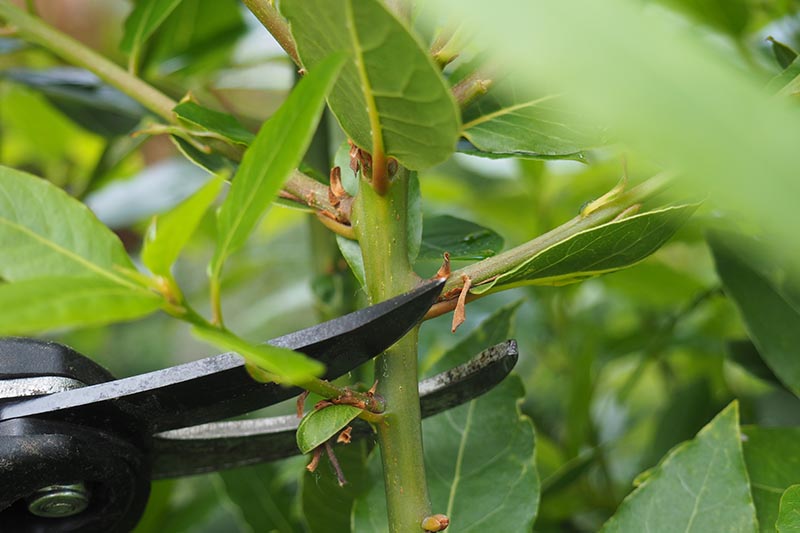
But your woody perennials need an annual pruning to control their shape and size, and to produce fresh foliage.
Once they become overgrown, it’s very difficult to return them to a compact, tidy form because the woody stems won’t produce new growth. Cutting them results in stubby sticks with no foliage.
The best time for pruning woody types, such as bay, lavender, rosemary, sage, and thyme, is in early spring just when new growth emerges at the base of plants or on their lowest limbs.
The next best time is immediately after the plant has finished flowering.
Cut back branches by one-third, making your cut just above a set of leaves. Remove any spent flowers and flower stalks as well.
And avoid cutting back woody perennials late in the season.
This encourages new growth to start when they should be preparing for dormancy. Tender shoots are easily killed by winter cold, which can weaken plants to the point of killing them.
During the growing season, trim lightly as needed, choosing outside stems and snipping to keep a tidy shape.
Pots of Delight
Growing your own herbs is an easy way to enjoy fresh flavors in your cooking, and fragrance in your garden. To learn more, check out our full guide to starting your own herb garden.
Remember to water regularly, fertilize monthly, and harvest often for a steady supply of flavorful, fresh leaves.
Now that you know a bit about how to grow your own container herb garden, will you be potting up some of your own delightful favorites? Let us know in the comments below!
And for more tips on container gardening, add these articles to your reading list next.
- The Best 11 Vegetables to Grow in Pots and Containers
- Keep Your Containers Looking Great with These 6 Simple Tricks
- How to Grow Vegetables in Containers
Photos by Laura Kring © Ask the Experts, LLC. ALL RIGHTS RESERVED. See our TOS for more details. Product photos via Home Depot, Nature Hills Nursery, and Wayfair. Uncredited photos: Shutterstock.
The post Tips for Growing Herbs in Containers appeared first on Gardener's Path.
Source: gardenerspath.com


Комментариев нет:
Отправить комментарий