We independently select these products—if you buy from one of our links, we may earn a commission.
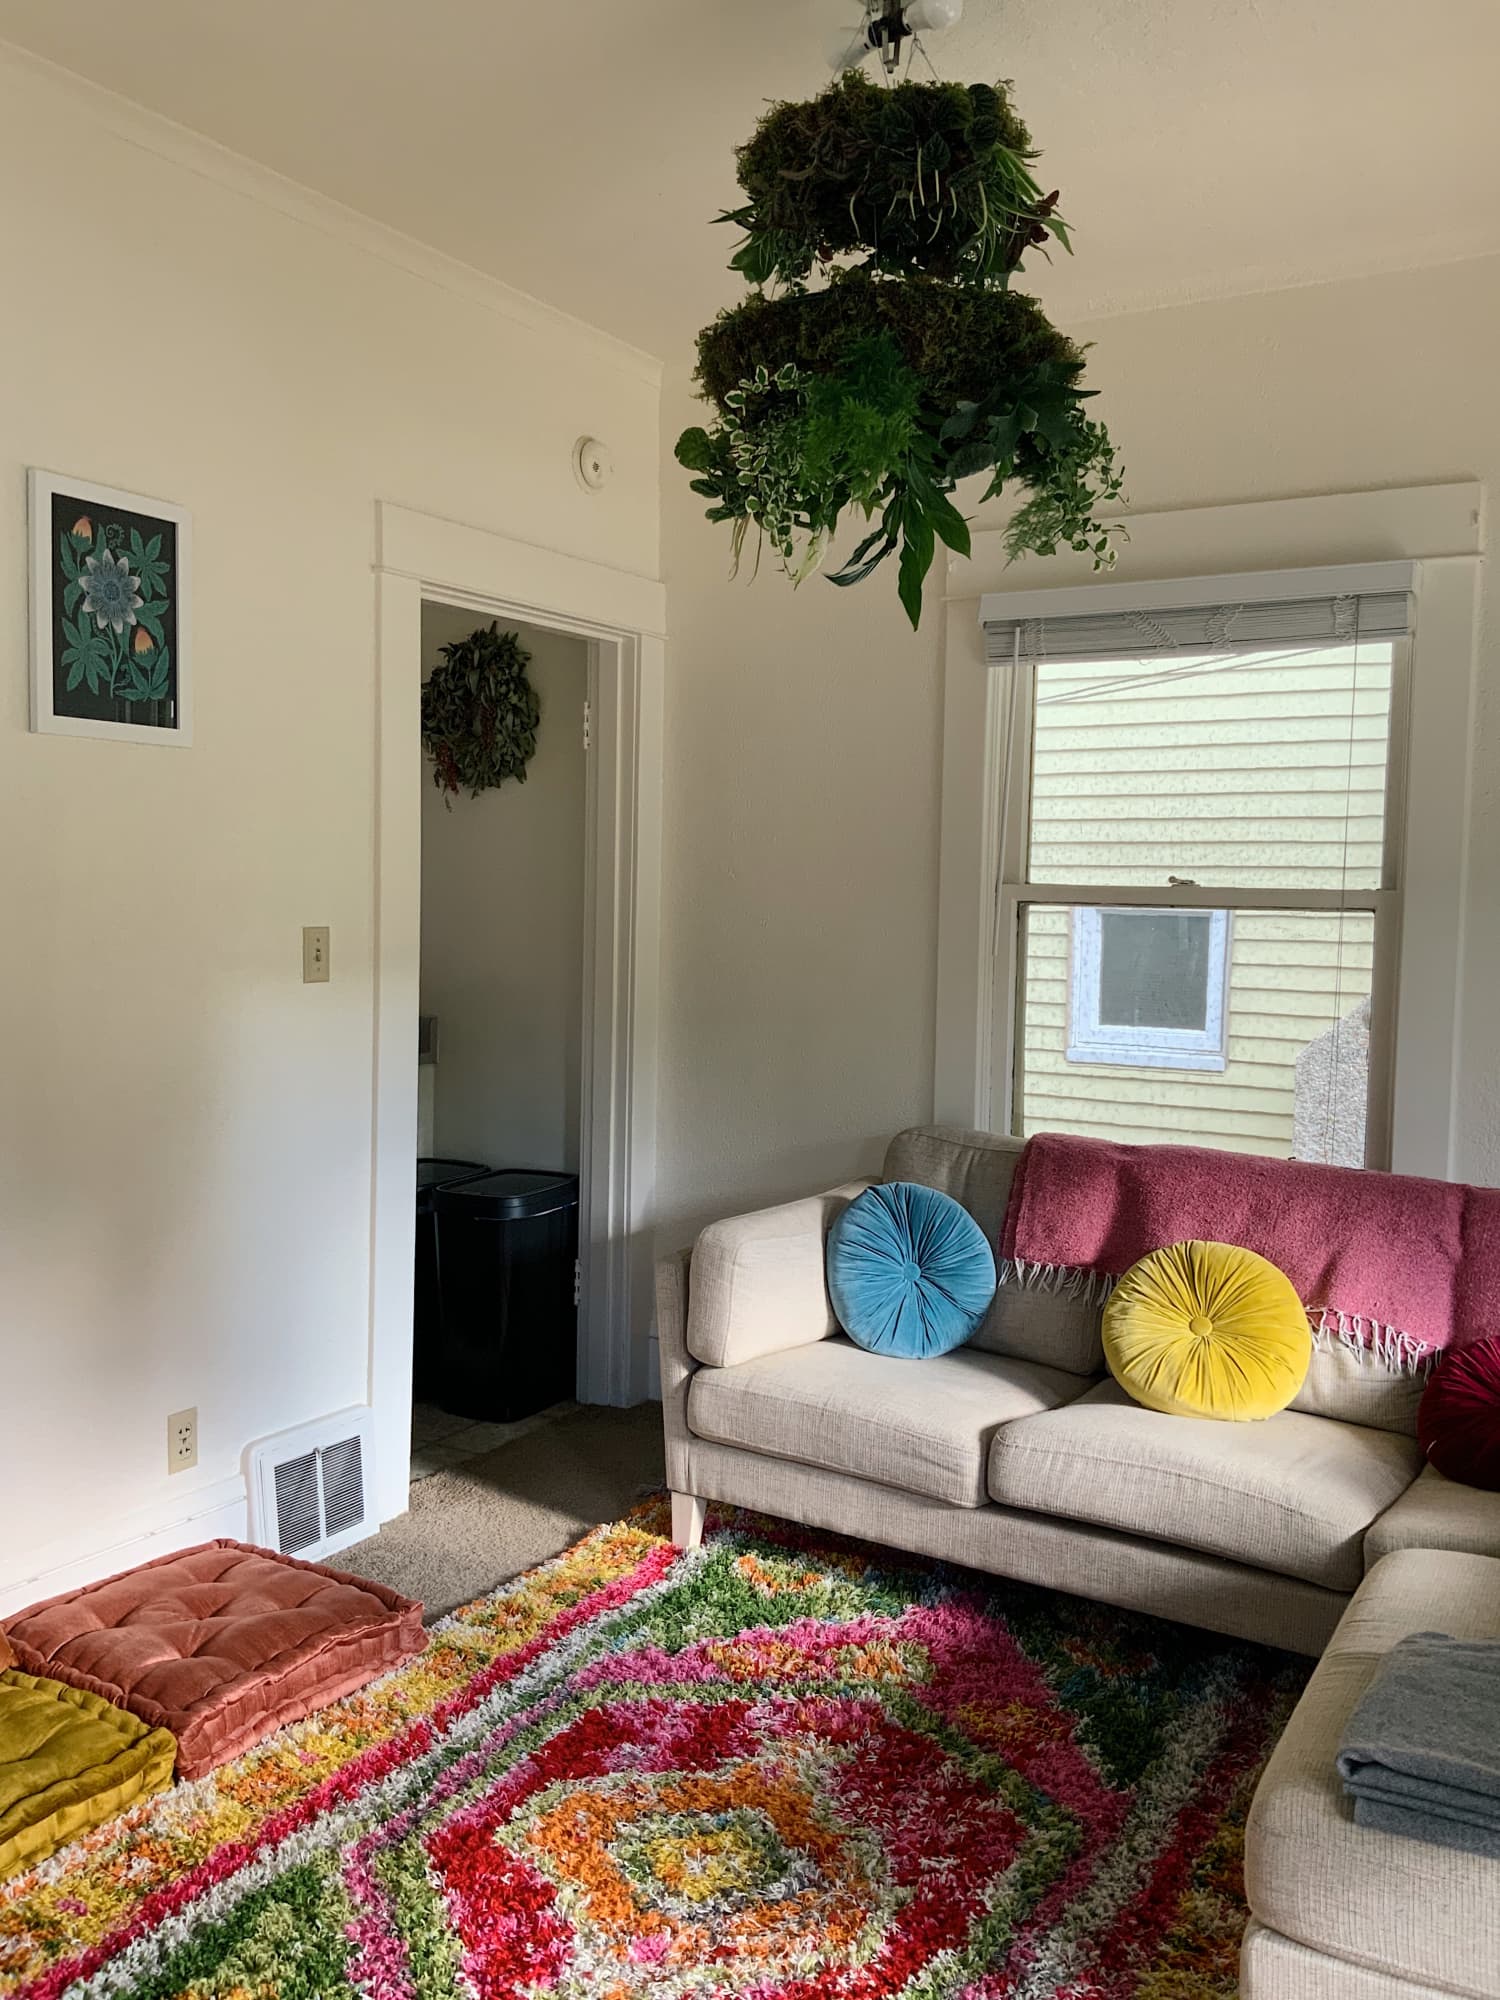
If you think you can't possibly add another plant to your home because there's no space on the floor or your tabletops, here's a solution: a plant chandelier. These suspended structures are a stunning, unique way to display your favorite blooms, succulents, and ferns from the ceiling—and a lot less expensive than something glass or crystal.
Sure, they're just decorative and certainly won't provide light, but if you need a focal point in a room or feel like your setup might benefit from a little bit of greenery in an unexpected place, then this is the feature for you. One might be especially fun in a corner of your bathroom or over a desk area. They also don't require any wiring, so they're much easier to install than your average fixture but more on that later.
I first fell in love with the idea of a plant chandelier in designer Mikel Welch's Small/Cool experience dining area. He centered one over the dining table, and says you can DIY his fixture by spray-painting a plastic basket green, covering it with blooms, and anchoring in place with floral wire. That simple version is only one iteration, though. Ellen Heddleston, florist and co-owner of United States of Flowers in Portland, OR, has become somewhat of a plant chandelier expert ever since a client requested one for a wedding years ago. With craft store supplies, moss, and a variety of plants, Heddleston says it's relatively easy—even for beginners—to make a multi-tiered plant chandelier.
According to Heddleston, there are a few things to keep in mind when gathering your supplies. Because your chandelier will be hanging from the ceiling—presumably somewhat away from windows—you're going to need plants that can thrive in this spot. "Ferns are a really good place to start because their natural environment is low light and mossy, and they'll last a long time," she says. "Succulents can be really good, too, but you have to make sure your space gets enough light to sustain those plants."
If you want to use flowers, Heddleston suggests choosing something that dries well to avoid wilting—some ideas are Billy balls, marigolds, and carnations, which "come in a bunch of different colors so you can get funky," she says. Leafy stems, like a combination of different varieties of eucalyptus or lavender, will work, too.
Plant chandeliers are generally best for indoor use, but if you want to hang yours outside, you must use outdoor plants and not house plants because the entire thing will be exposed to the elements and will mold, rot, and brown if not. "The best bet is to have it hang in the house or on a covered porch or deck," says Heddleston. "If you leave it exposed, it's probably going to struggle."
Once your plant chandelier is installed, maintenance is similar to other houseplants. "Take care of it by watering once a week to every 10 days," Heddleston says. "Moss retains moisture very well, so it makes it easier to maintain. In between waterings, give the plants a spritz with a spray bottle to keep leaves moist and happy. Then, about once a month, take the structure down and give it a really good hose off."
Now that you know the ins and outs of plant chandeliers, see Heddleston's simple step-by-step below for constructing your own at home. Just remember: no matter how tempting, never swing from the plant chandelier—or any chandelier, for that matter.
Supplies and materials you'll need for a plant chandelier
1. Make the Base with Moss and Dirt
Buy a caged living wreath form as a base to pack everything into. For this version, you'll need two: a smaller one with about an 8-inch diameter and a larger one at around 14 inches. First, take the backs off of them and fill with live moss. This gives plants a base to lay in (like building a basket) and supports them so they don't fall through the holes of the frame. Next, add a thin layer of moist soil on top of the moss to give the plants a place to root in. Less is more here, as the structure can get really heavy quickly, and you want it to safely hang from the ceiling.
2. Nestle Your Plants and Flowers Inside
Once you have the wreath base set, flip the wreath form to face you. (The cage in the back prevents everything from falling out.) Dig little holes in the moss and soil to insert plants into. Make sure you balance out the weight of plants and flowers so they aren't all on one side (this will prevent it from being lopsided when you hang it). Once all plants are in, wrap the frame and plants in place with floral wire. Since the structure will be hanging upside down, gravity could make the plants fall if they aren't properly secured.
3. Attach the Chandelier to the Ceiling
Anchor and attach the fixture to a stud in the ceiling using eye bolts and washers, and then use medium-size S-hooks and steel cable to connect the first piece to the ceiling and the second (smaller) piece to the first piece. Voila! You're done. Remember that this is a living object you're creating that needs sunlight and water to survive, so take care of it and it will make your home beautiful for months to come.
Source: apartmenttherapy.com

Комментариев нет:
Отправить комментарий